

Sound Treatment Packages for the 2015-2020 F-150 and 2017-2022 SuperDuty Ford SuperCab Trucks
Three-layer sound treatment built for 2015-2020 F-150 and 2017-2022 Super Duty SuperCab trucks.
SKU: ST-SCAB-1520-lvl3
The rest of the route, in one cart.
One part from each DIY step that fits your vehicle. Open any of them to choose its options and add it to your cart without leaving this page.
Finish your bass, in one cart.
The other parts of the Fix the Bass route that fit your truck. Open any of them to choose its options and add it to your cart without leaving this page.
The rest of the system, in one cart.
The other parts of a full system that fit your truck. Open any of them to choose its options and add it to your cart without leaving this page.
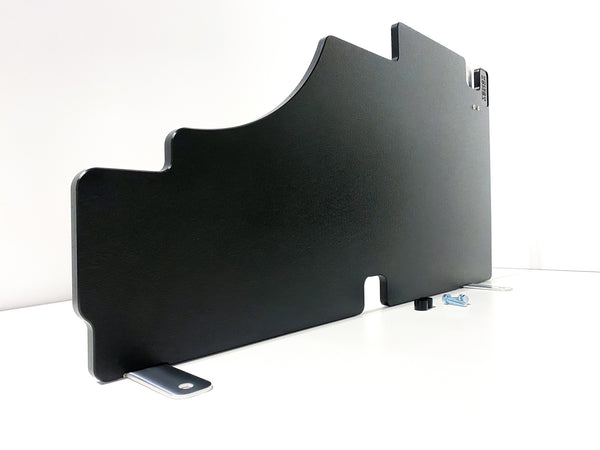
Mounting amplifiers, a processor and distribution behind the driver-side rear seat: it bolts to three factory points, with no drilling.

Owners who need one compact amp or a DSP on the driver side without taking up the whole area behind the rear seat.

Owners running a 5-channel amp or micro amplifiers who want a clean, secure mount behind the rear seat.

Mounting a compact amplifier or processor behind the passenger-side rear seat, with no drilling and the factory subwoofer left in place.

2015-2026 Ford F-150 and Super Duty SuperCrew owners who want a hidden, clean amp install in the underseat storage area. Not for trucks with Pro Power Onboard.
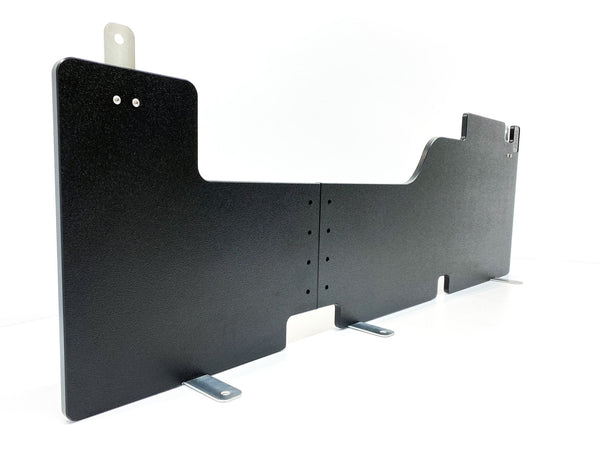
For owners who need the whole back wall: 53.8 inches for several amplifiers, with room behind for distribution blocks, relays or a DSP.

20 ft of power + 20 ft of ground in 100% OFC Kicker wire, fused at the battery — 1/0, 4 or 8 gauge.
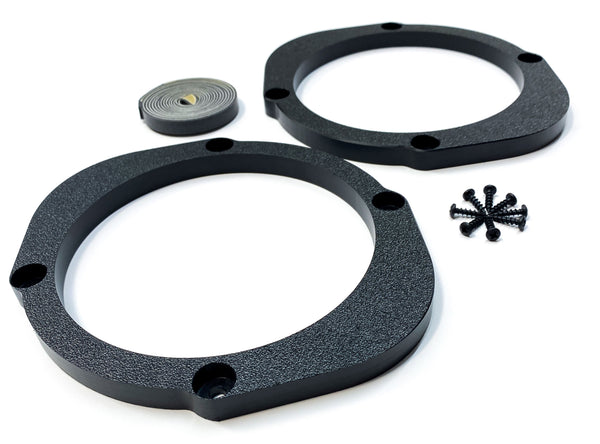
Owners of Ford, Lincoln, Mazda, and Mercury vehicles with factory 6x8-inch oval speakers upgrading to 6.5-inch round aftermarket drivers

Ford truck owners upgrading factory speakers to premium aftermarket 6.5-inch, 6x9-inch, or 8-inch drivers

Add a sub amp to Ford B&O — fix the bass roll-off with a pre-set KEYLOC, or keep it and save.

A pair of factory 2-pin plug pigtails with bare OFC copper leads. Plug-and-crimp aftermarket speaker install with zero factory wire cuts.

Takes the place of the rear B&O amp and hands your amplifiers six clean analog channels.

Plug-in T-harness for 2021+ Ford non-amplified factory stereos. Hand-built in Nashville with OFC copper, soldered 4-channel Straight Wire RCA tips, and fully reversible installation.

Plug-in T-harness for 2015-2020 Ford F-Series and other pre-2021 non-amplified Fords. Hand-built in Nashville with OFC copper, soldered 4-channel Straight Wire RCA tips, and fully reversible installation.

SGS-built plug-in harness that connects a Kicker KEYLOC module to your Ford B&O factory amp output. Pick the variant that matches your factory subwoofer shape — YMM will auto-select if your vehicle is in our database.
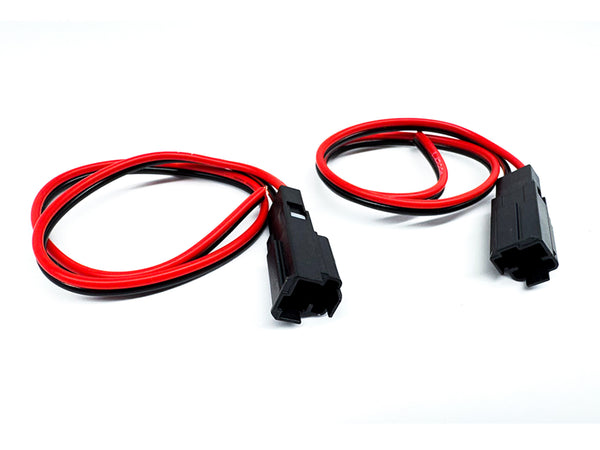
A pair of OFC copper pigtails with Ford's small BLACK tweeter / mid-range factory connector. Check your own plug color before ordering — black = this product, gray = different SKU.

Plug-in dash-side harness that gives you access to the speaker wires running to the factory rear-door speakers on 2021-2023 F-150 B&O Unleashed trucks. Connect your amp output at the dash instead of splicing door wires.

Zero-splice install harness — clean, reversible wiring with no cut factory connectors.

2025+ Ford A²B stereo interface — now works on all Broncos (including non-B&O). Burr-Brown DAC up to 192 kHz. Same engine as the ZEN-A2B Plus.

F-150 and Super Duty owners installing aftermarket tweeters from a 2-way or 3-way component speaker kit

2021+ Ford truck owners with the non-amplified audio system installing aftermarket tweeters

2021+ Ford F-150, Lightning, and Super Duty owners with B&O audio upgrading factory midrange speakers

Two Ten87 Design 6.5-inch subs in a ported box that hides behind the rear seat, with the compact amp rack that fits beside it. Bring your own amp.

Kicker's own carpeted truck box with two 10-inch L7T subs installed, made to sit under the rear seat.

Two 6.5-inch subs in a ported box behind the rear seat — for your own amp, and the seat still folds up.

Genuine JL Audio Stealthbox: two 12-inch TW3 subs in a sealed box that bolts in under the rear seat.

Two Ten87 Design 6.5-inch subs in a ported box that hides behind the rear seat. Bring your own amp.

Custom-fit subwoofer enclosure for the Ford F-Series (2009–2026) — tight, hidden bass built around your Arc Audio.
Two Ten87 Design 6.5-inch subs in a ported box that hides behind the rear seat, with the compact amp rack that fits beside it. Bring your own amp.
Kicker's own carpeted truck box with two 10-inch L7T subs installed, made to sit under the rear seat.
Two 6.5-inch subs in a ported box behind the rear seat — for your own amp, and the seat still folds up.
Genuine JL Audio Stealthbox: two 12-inch TW3 subs in a sealed box that bolts in under the rear seat.
Two Ten87 Design 6.5-inch subs in a ported box that hides behind the rear seat. Bring your own amp.
Custom-fit subwoofer enclosure for the Ford F-Series (2009–2026) — tight, hidden bass built around your Arc Audio.

JL Audio RD1500/1 pre-wired and pre-tuned on our HDPE rack. Plugs into your factory audio; you add the subwoofer.

Kicker CXA1200.1 pre-wired and pre-tuned on our HDPE rack. Plugs into your factory audio; you add the subwoofer.

Kicker CXA1200.1 sub amp rack, pre-wired and pre-tuned in-house, with the plug-in interface for B&O, Sony or base factory audio.
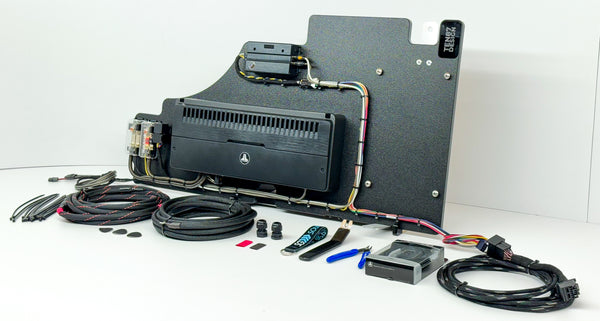
JL Audio RD1000/1 pre-wired and pre-tuned on our HDPE rack. Plugs into your factory audio; you add the subwoofer.
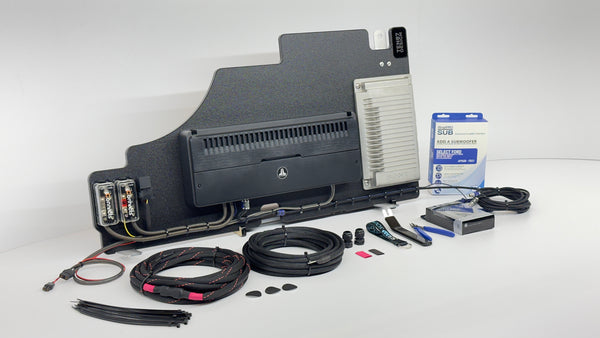
JL Audio subwoofer-and-amp rack for Ford F-Series — bolt-in 1500W RMS, fits factory systems with no fabrication.
JL Audio RD1000/1 pre-wired on our rack. Plugs into your factory audio; you add the subwoofer.

Arc Audio X2 1100.1 sub amp, pre-wired and pre-tuned on our HDPE rack. Plugs into your factory audio; you add the subwoofer.

Kicker subwoofer-and-amp rack for Ford F-Series — bolt-in, fits factory systems with no fabrication.
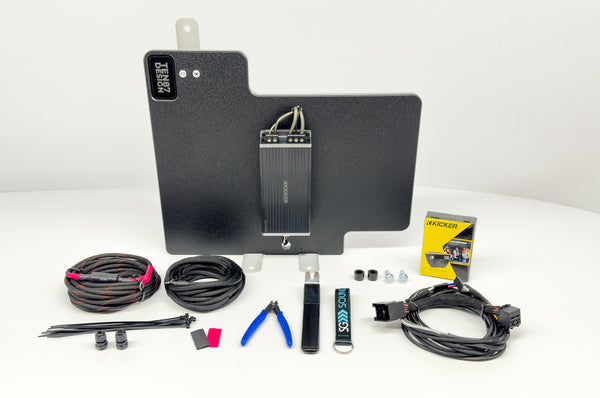
Kicker subwoofer-and-amp rack for Ford F-Series — bolt-in, fits factory systems with no fabrication.

Arc Audio X2 1100.1 mounted, pre-wired and pre-tuned on our rack. Plugs into your factory audio; you add the subwoofer.

Kicker CXA1800.1 pre-wired and pre-tuned on our HDPE rack. Plugs into your factory audio; you add the subwoofer.

Kicker CXA1800.1 pre-wired and pre-tuned on our HDPE rack. Plugs into your factory audio; you add the subwoofer.

Mosconi-Gladen subwoofer-and-amp rack for Super Duty & F-150 — bolt-in 1200W RMS, fits factory systems with no fabrication.

Mosconi-Gladen subwoofer-and-amp rack for Super Duty & F-150 — bolt-in 975W RMS, fits factory systems with no fabrication.

Mosconi-Gladen subwoofer-and-amp rack for Ford F-Series — bolt-in 975W RMS, fits factory systems with no fabrication.

Mosconi-Gladen subwoofer-and-amp rack for Ford F-Series — bolt-in 1200W RMS, fits factory systems with no fabrication.

Focal Utopia M beryllium tweeters, 3.5WM midranges and 8WM mid-bass, in A-pillars and door adapters we build for your truck.

Focal Utopia M beryllium tweeters, 3.5WM midranges and 8WM mid-bass, in A-pillars and door adapters we build for your truck.

JL Audio speaker upgrade for F-150 & Super Duty (2015-2020) — crisp highs and full mids with a true plug-and-play install.
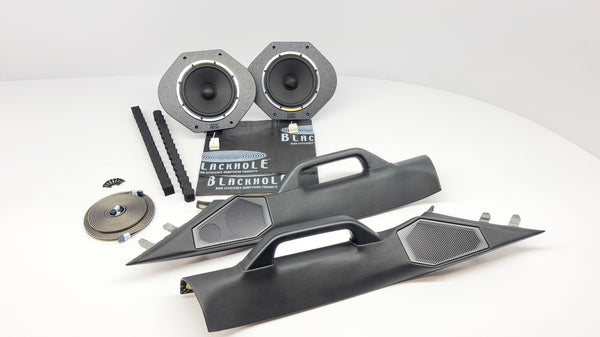
JL Audio speaker upgrade for F-150 & Super Duty — crisp highs and full mids with a true plug-and-play install.

Gladen-Mosconi PRO 25mm tweeters, 3-inch mid-ranges and 6.5-inch mid-bass, in A-pillars and door adapters we build for your truck.
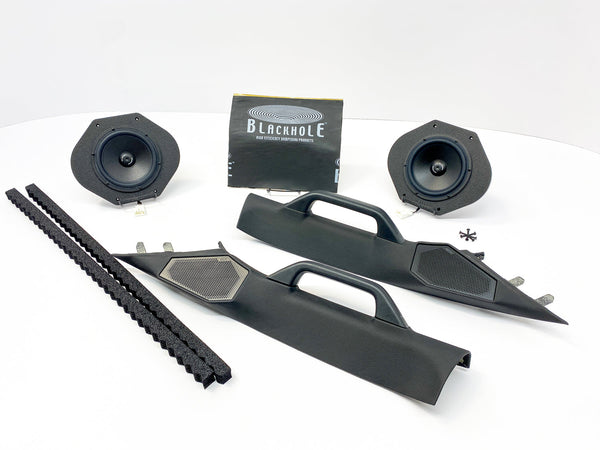
Gladen-Mosconi speaker upgrade for F-150 & Super Duty — crisp highs and full mids with a true plug-and-play install.
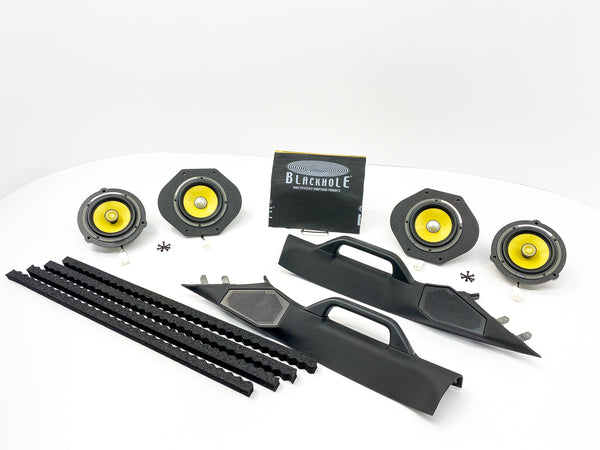
Focal K2 speaker upgrade for F-150 & Super Duty — crisp highs and full mids with a true plug-and-play install.

Focal K2 speaker upgrade for F-150 & Super Duty (2015-2020) — crisp highs and full mids with a true plug-and-play install.

Focal Flax EVO speaker upgrade for F-150 & Super Duty — crisp highs and full mids with a true plug-and-play install.

Focal Flax EVO speaker upgrade for F-150 & Super Duty (2015-2020) — crisp highs and full mids with a true plug-and-play install.

Focal Flax EVO speaker upgrade for F-150 & Super Duty (2015-2026) — crisp highs and full mids with a true plug-and-play install.

Focal speaker upgrade for F-150 & Super Duty (2015-2024) — crisp highs and full mids with a true plug-and-play install.

Gladen-Mosconi speaker upgrade for F-150 & Super Duty (2015-2026) — crisp highs and full mids with a true plug-and-play install.

JL Audio C1 components and coaxials on our HDPE door adapters — plug-in harnesses, runs on factory power.

Kicker KS components and coaxials on our HDPE door adapters — plug-in harnesses, no amplifier required.

JL Audio speaker upgrade for F-150 & Super Duty (2015-2026) — crisp highs and full mids with a true plug-and-play install.

JL Audio full-range amp rack — bolt-in, powers your full system with a factory-clean install.

Gladen-Mosconi full-range amp rack for Super Duty & F-150 — bolt-in, powers your full system with a factory-clean install.

JL Audio full-range amp rack for Super Duty & F-150 — bolt-in, powers your full system with a factory-clean install.
Gladen-Mosconi full-range amp rack — bolt-in, powers your full system with a factory-clean install.

Gladen-Mosconi full-range amp rack — bolt-in, powers your full system with a factory-clean install.
Gladen-Mosconi full-range amp rack — bolt-in, powers your full system with a factory-clean install.
Gladen-Mosconi full-range amp rack for Super Duty & F-150 — bolt-in, powers your full system with a factory-clean install.
Gladen-Mosconi full-range amp rack for Super Duty & F-150 — bolt-in, powers your full system with a factory-clean install.

Gladen-Mosconi full-range amp rack for Super Duty & F-150 — bolt-in, powers your full system with a factory-clean install.
Gladen-Mosconi full-range amp rack — bolt-in, powers your full system with a factory-clean install.

Gladen-Mosconi full-range amp rack for Super Duty & F-150 — bolt-in, powers your full system with a factory-clean install.

Gladen-Mosconi full-range amp rack — bolt-in, powers your full system with a factory-clean install.

JL Audio full-range amp rack for Super Duty & F-150 — bolt-in, powers your full system with a factory-clean install.

JL Audio full-range amp rack for Ford F-Series — bolt-in, powers your full system with a factory-clean install.

Kicker full-range amp rack for Ford F-Series — bolt-in, powers your full system with a factory-clean install.

Kicker full-range amp rack for Super Duty & F-150 — bolt-in, powers your full system with a factory-clean install.
Two Ten87 Design 6.5-inch subs in a ported box that hides behind the rear seat, with the compact amp rack that fits beside it. Bring your own amp.
Kicker's own carpeted truck box with two 10-inch L7T subs installed, made to sit under the rear seat.
Two 6.5-inch subs in a ported box behind the rear seat — for your own amp, and the seat still folds up.
Genuine JL Audio Stealthbox: two 12-inch TW3 subs in a sealed box that bolts in under the rear seat.
Two Ten87 Design 6.5-inch subs in a ported box that hides behind the rear seat. Bring your own amp.
Custom-fit subwoofer enclosure for the Ford F-Series (2009–2026) — tight, hidden bass built around your Arc Audio.
The details.
Everything you need to treat your doors and rear wall in one box. Each level includes our CNC-machined Block Off Plates, BlackHole MAT vibration damping sheets, and BlackHole Tiles acoustic absorption pads — sized and matched for your truck. Pick your level based on your system and goals.
Check before you buy
SuperCab only. Fits 2015-2020 F-150 SuperCab (incl. Raptor), 2017-2022 Super Duty F-250/F-350/F-450 SuperCab. B&O 8-Speaker, Sony Amplified, Non-Amplified trims. Not for SuperCrew or Regular Cab. Ford, F-150, Super Duty, Raptor are trademarks of Ford Motor Company. Not sure which system you have? Ask us before you buy.
Full specifications
- Coverage Area
- Doors + wall
- MAT Composition
- 3-layer CLD
- Plate Mounting
- 1/8-in holes
- MAT Application
- Self-adhesive
- MAT Size
- 4.5 mm thick
- Tile Size
- 4 x 3 x 1.5"
- Levels
- 3
- Sold As
- 1 truck kit
Kits for other platforms.
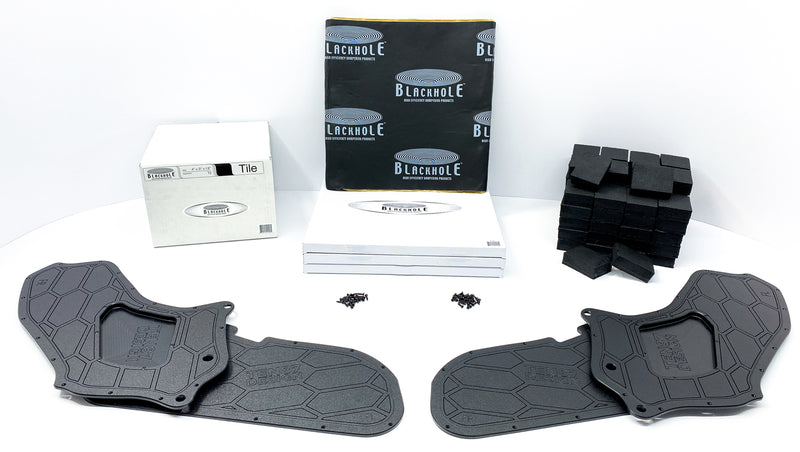
Sound Treatment Package for 2021-2026 Ford F-150 & 2023-2026 Super Duty SuperCrew – Block Off Plates, Blackhole MAT & Tiles
Truck owners upgrading their speakers or quieting their doors and back wall.
75 reviews
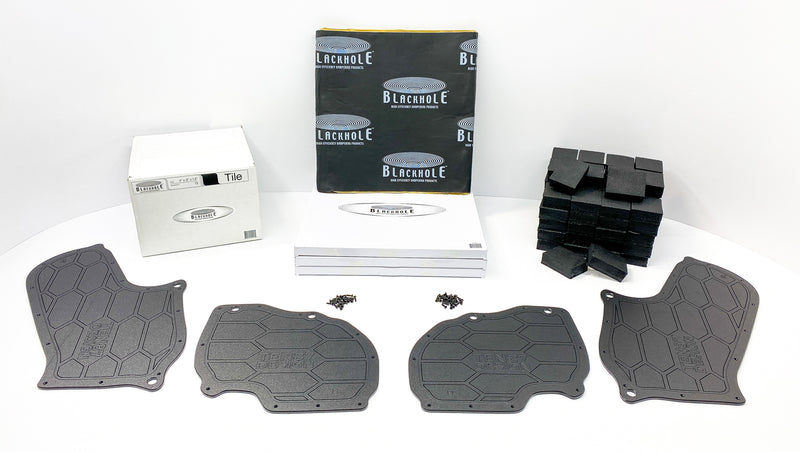
Sound Treatment Package for 2015-2020 Ford F-150 & 2017-2022 Super Duty SuperCrew – Block Off Plates, Blackhole MAT & Tiles
Truck owners upgrading their speakers or quieting their doors and back wall.
75 reviews
Everything customers actually ask.
The questions we get most on sound treatment - answered straight. Not sure if yours is here? Call, and a human answers.
One year, on everything we sell. Every item is covered for one year from delivery. If something fails in that first year, we make it right. Questions about a claim? Call us — a real person handles it with you.
Every panel, step by step. No cutting.
Every kit ships ready to install at home. Follow the steps for your platform - the MAT, tiles, and plates go in with basic hand tools and a drill for the plate pilot holes.
-
Gather all tools. Park on flat surface, ignition off, keys removed.
-
Use a panel removal tool to release retaining clips around the front door panel perimeter. Remove 7mm screws at the armrest area. Disconnect window switch, speaker, and lock actuator connectors before fully removing panel.
-
Peel back the factory plastic vapor barrier carefully. If adhesive is intact, preserve it for reinstallation.
-
Clean all bare metal surfaces on the inner and outer door skins with isopropyl alcohol. Allow to dry completely before applying any material.
-
Cut BlackHole MAT to fit and apply to the outer door skin (accessible through access holes). Press firmly and use a roller to eliminate air pockets. WARNING: Do NOT drill or penetrate the outer door skin.
-
Apply BlackHole MAT to the inner door skin, covering flat metal surfaces around the access holes and speaker opening.
-
Press BlackHole Tiles into the door cavity on flat surfaces. Avoid placing tiles where they could obstruct window regulator travel, cables, or lock rods.
-
Position the Block Off Plate over the factory access hole using the pre-marked alignment circles. Mark mounting hole locations.
-
Verify no wiring harnesses or lock rods are behind your drill locations. Drill 1/8-inch pilot holes through the inner door skin only.
-
Secure the Block Off Plate with included zinc-coated screws. Tighten snugly — do not overtorque.
-
Reinstall the vapor barrier, pressing adhesive perimeter back into place.
-
Reconnect all wiring connectors. Route harnesses so nothing is pinched between panel and door frame.
-
Reinstall door panel by aligning clips and pressing firmly until all clips seat. Reinstall 7mm screws. Test window and lock functions.
-
Repeat for rear doors and treat the rear wall surfaces. Total install: approximately 3-5 hours.
How they hold up once they're installed.
Quality plates! Had a easy experience with installing these on my GMC. Seems to make a big difference in sound and they look great! Thank you for a great experience and I'll be ordering more products soon.
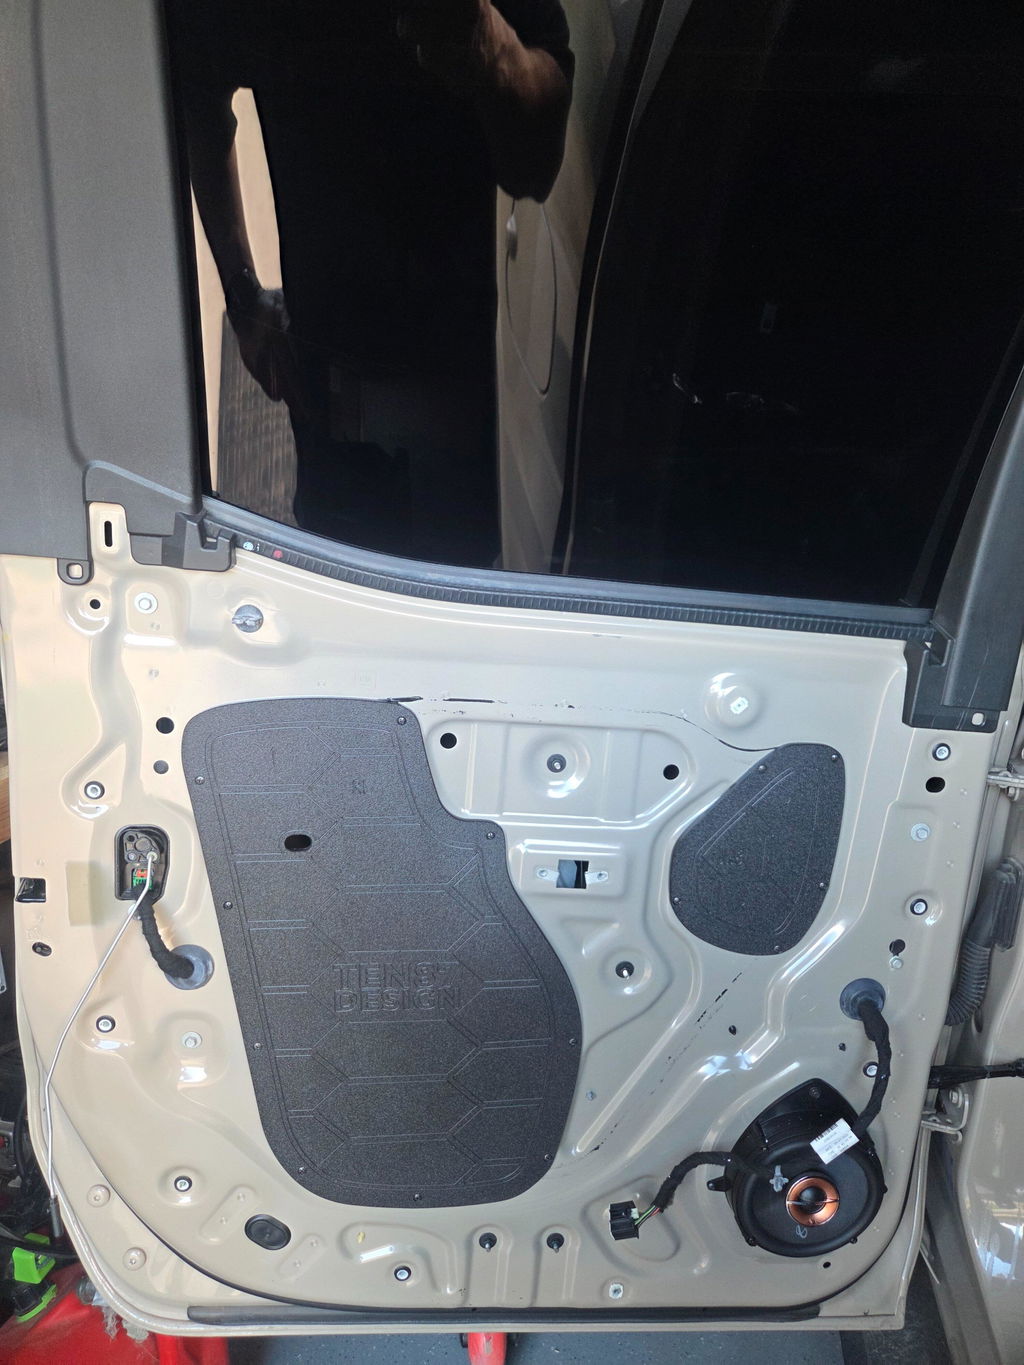
Found these for my 2023 F350 Lariat B&O unleashed system. Following the installation video with flawless fit. I don't think I could have achieved sucess without the video. Shipping and customer service (I did have to contact them) was superb, couldn't be better. After installation, I could clearly hear the improvement to my stock system. I now get to crank it up for Boston and U2 songs.
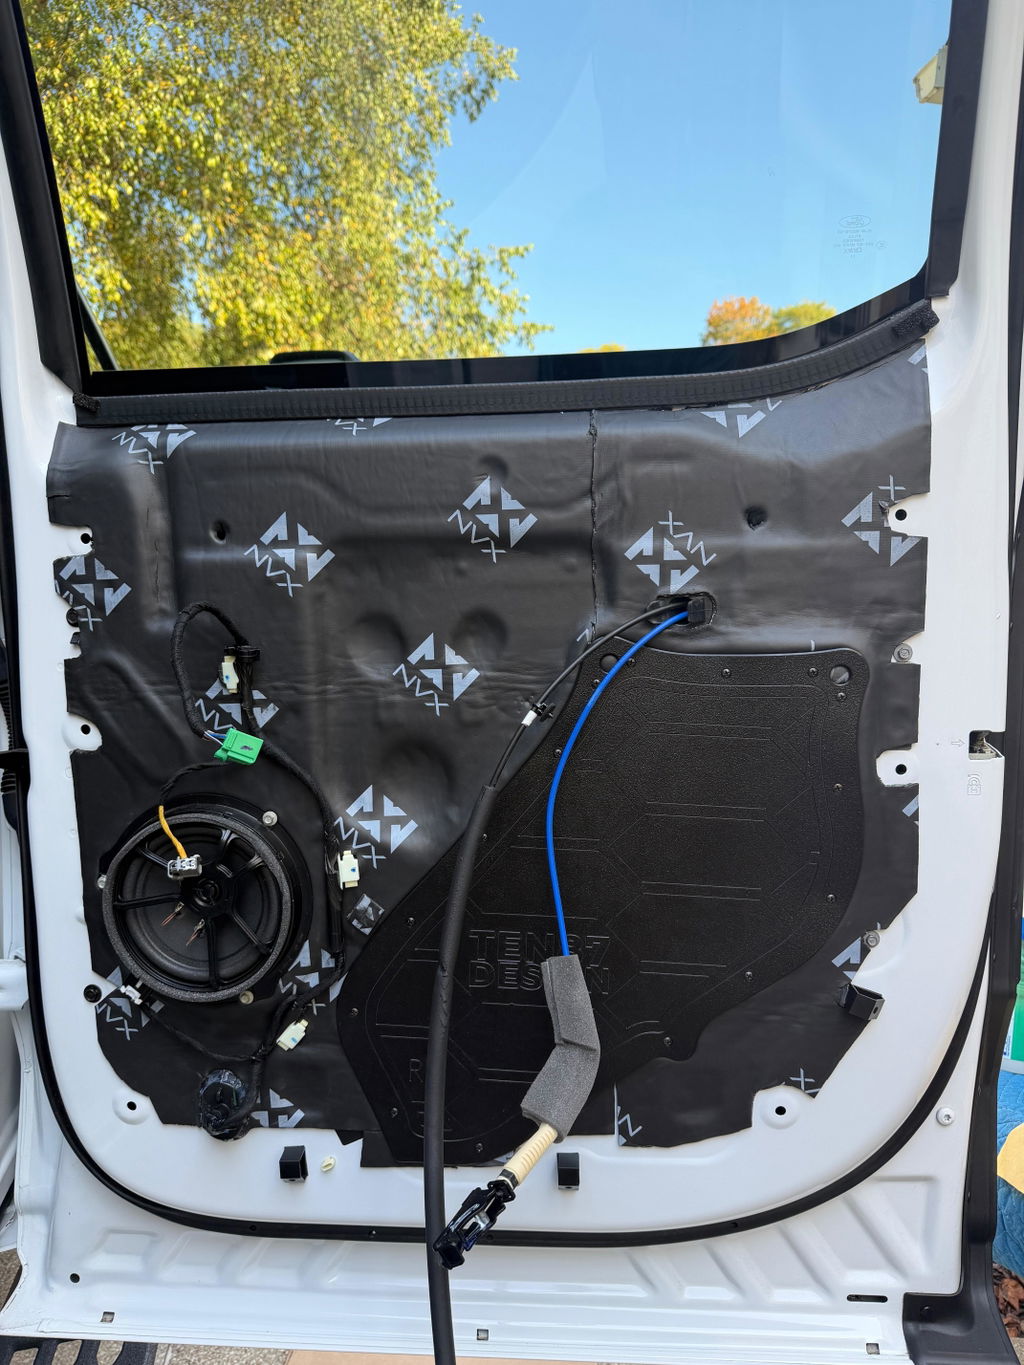
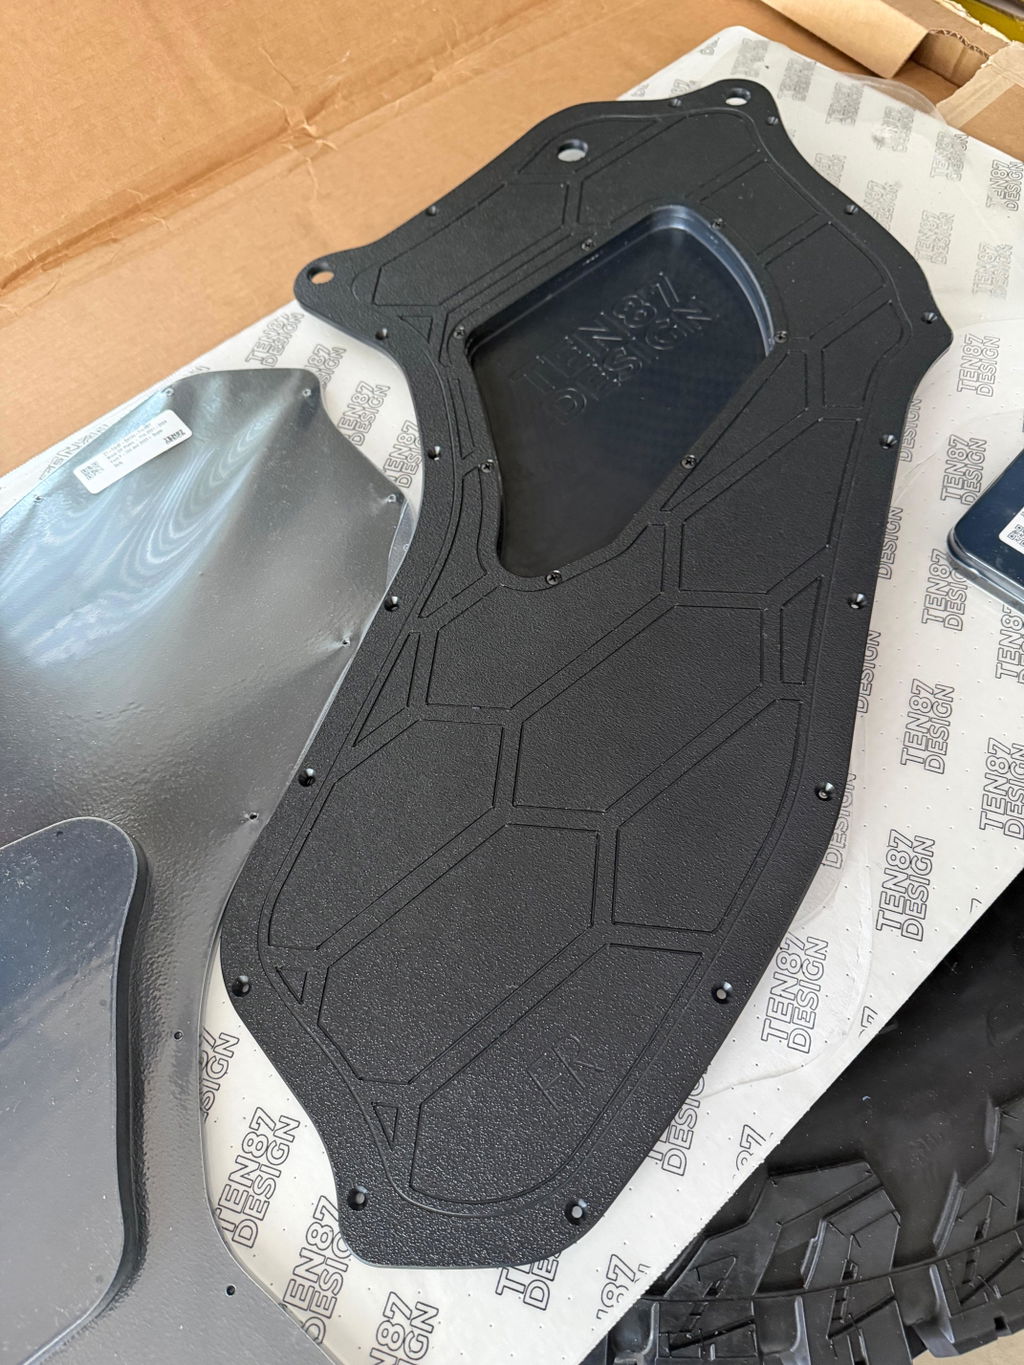
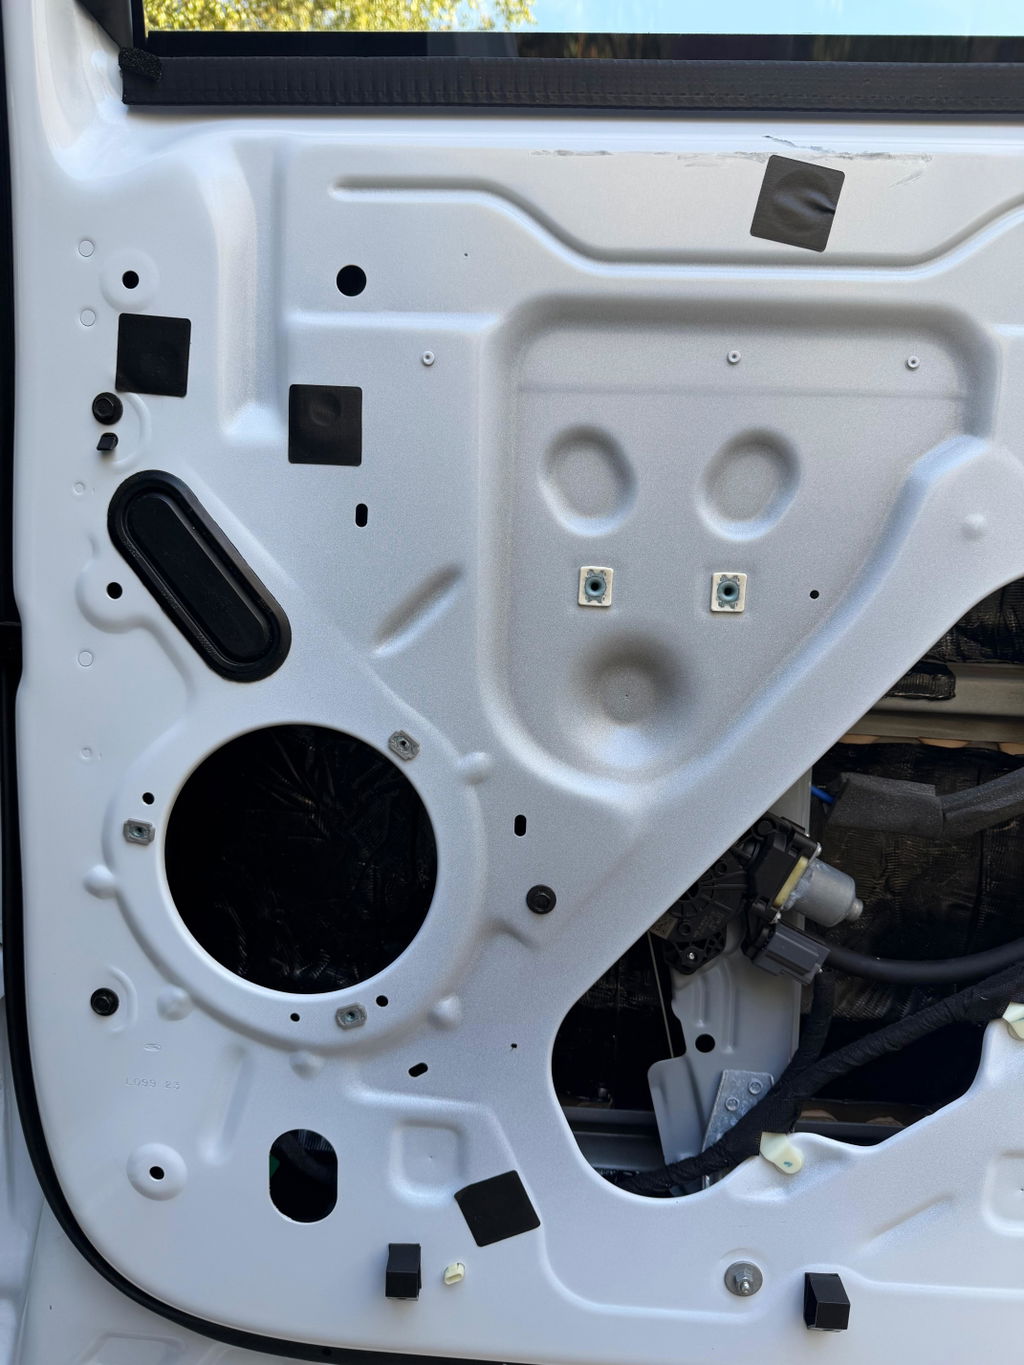
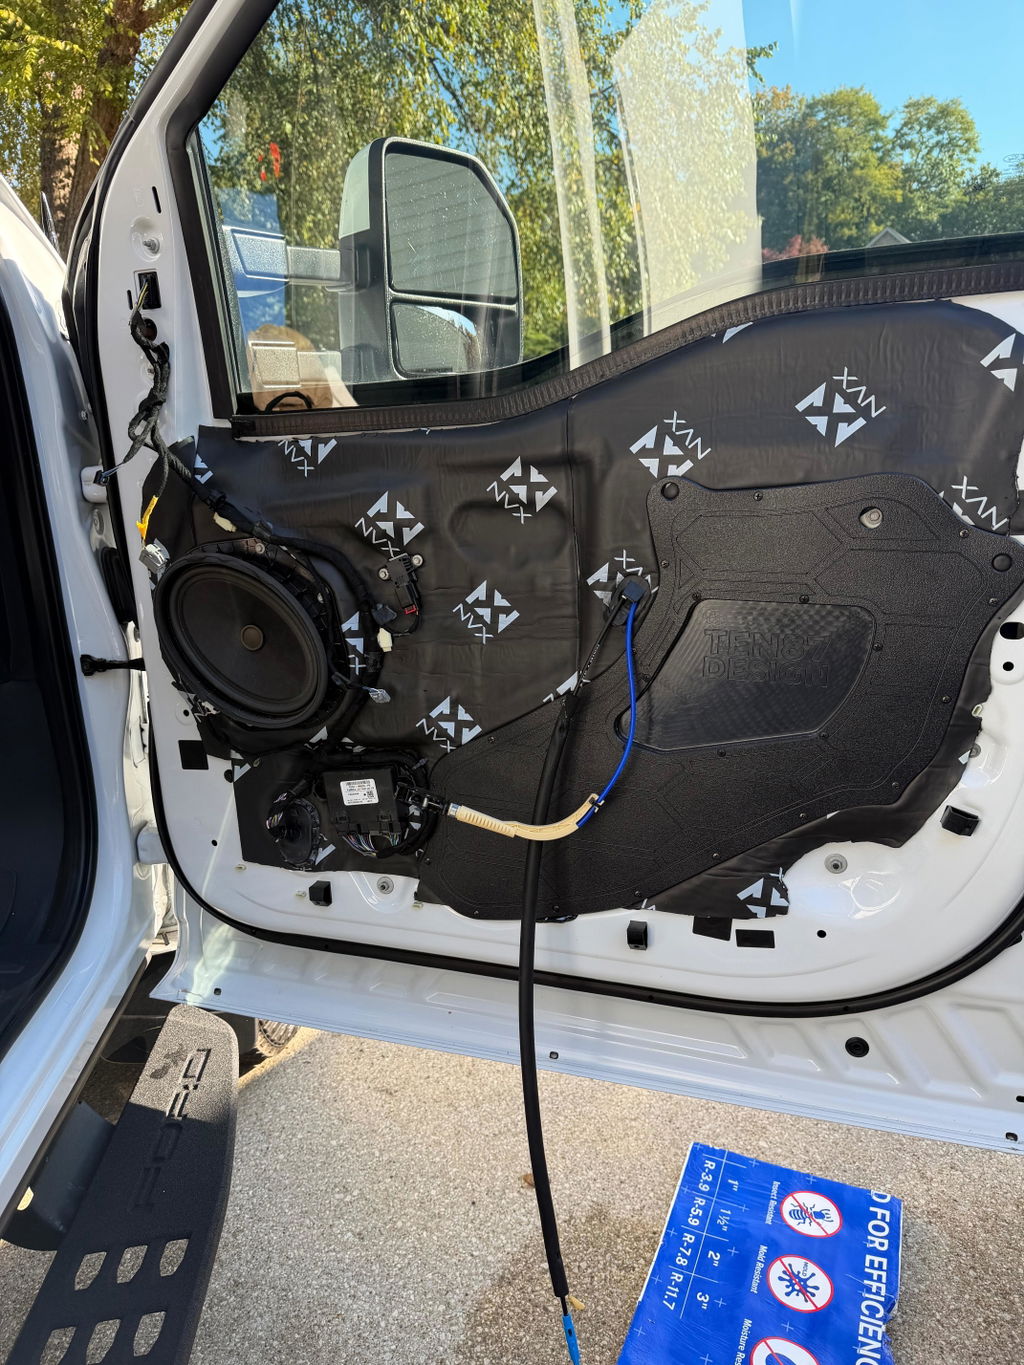
I’ve had a great experience with Sounds Good Stereo. I purchased their custom enclosure loaded with four JL Audio 8W3s, the power upgrade, sound treatment kit, and their pre-tuned amp rack. I’m extremely happy with the quality of everything and the customer service I’ve received throughout the process.
What really stands out to me is the workmanship and attention to detail. You can tell these guys genuinely have a passion for what they do and take pride in their work. Everything I’ve received has exceeded my expectations. Definitely recommend Sounds Good Stereo!
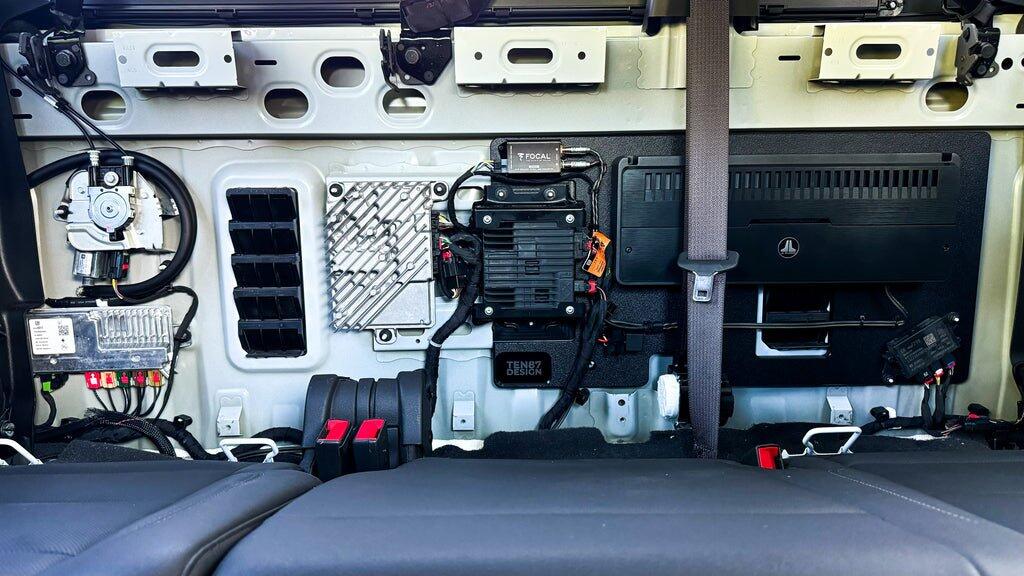
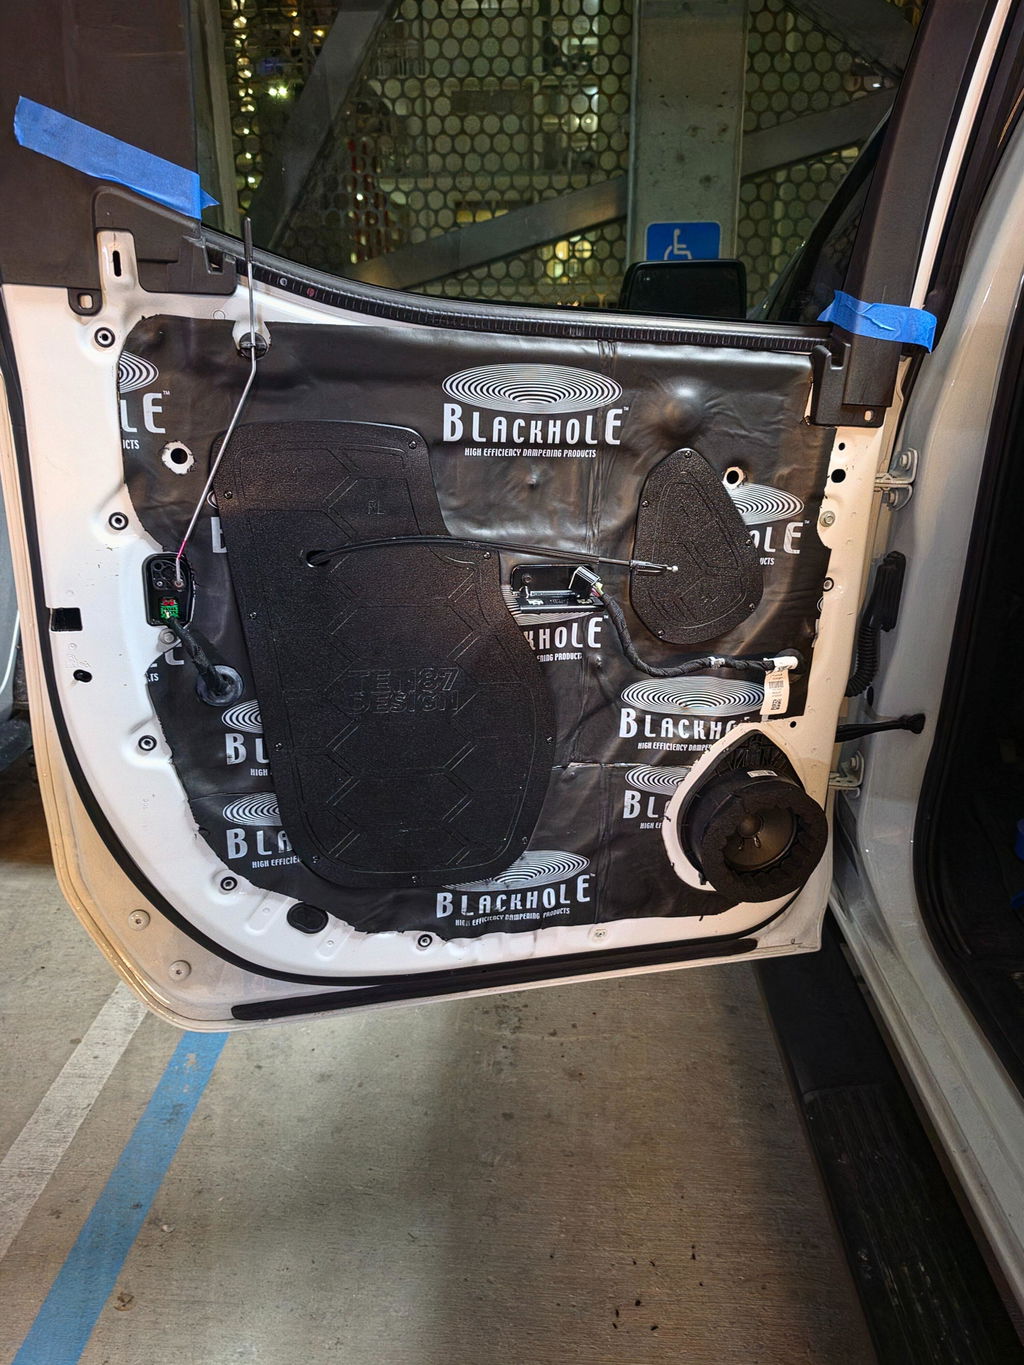
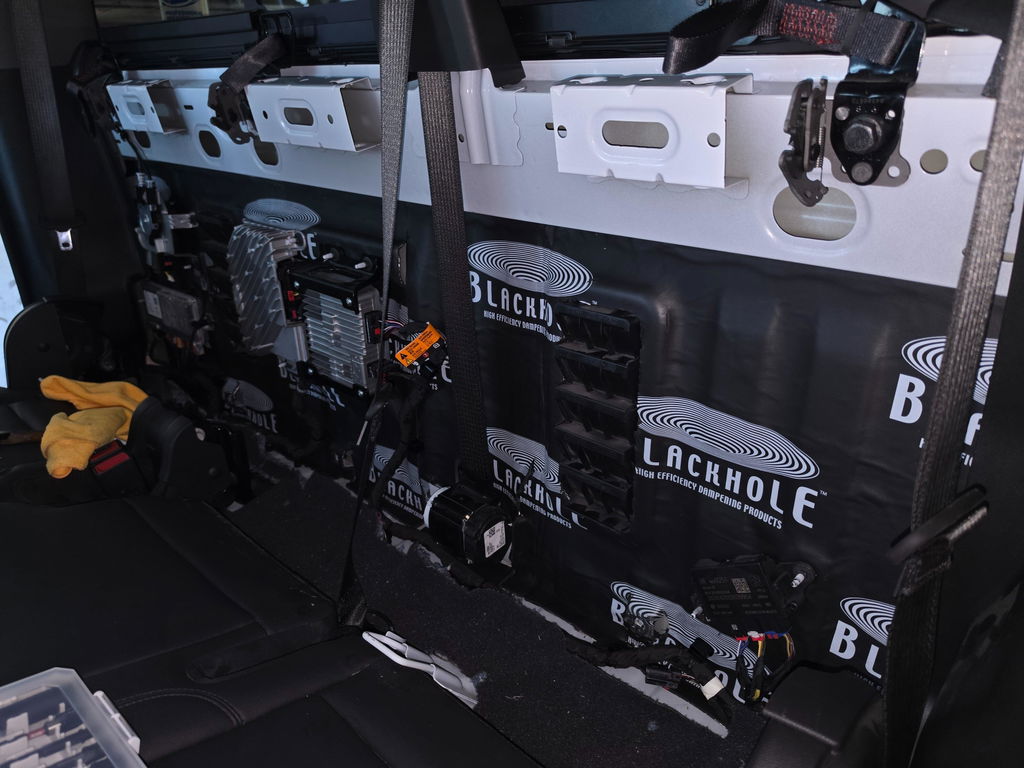
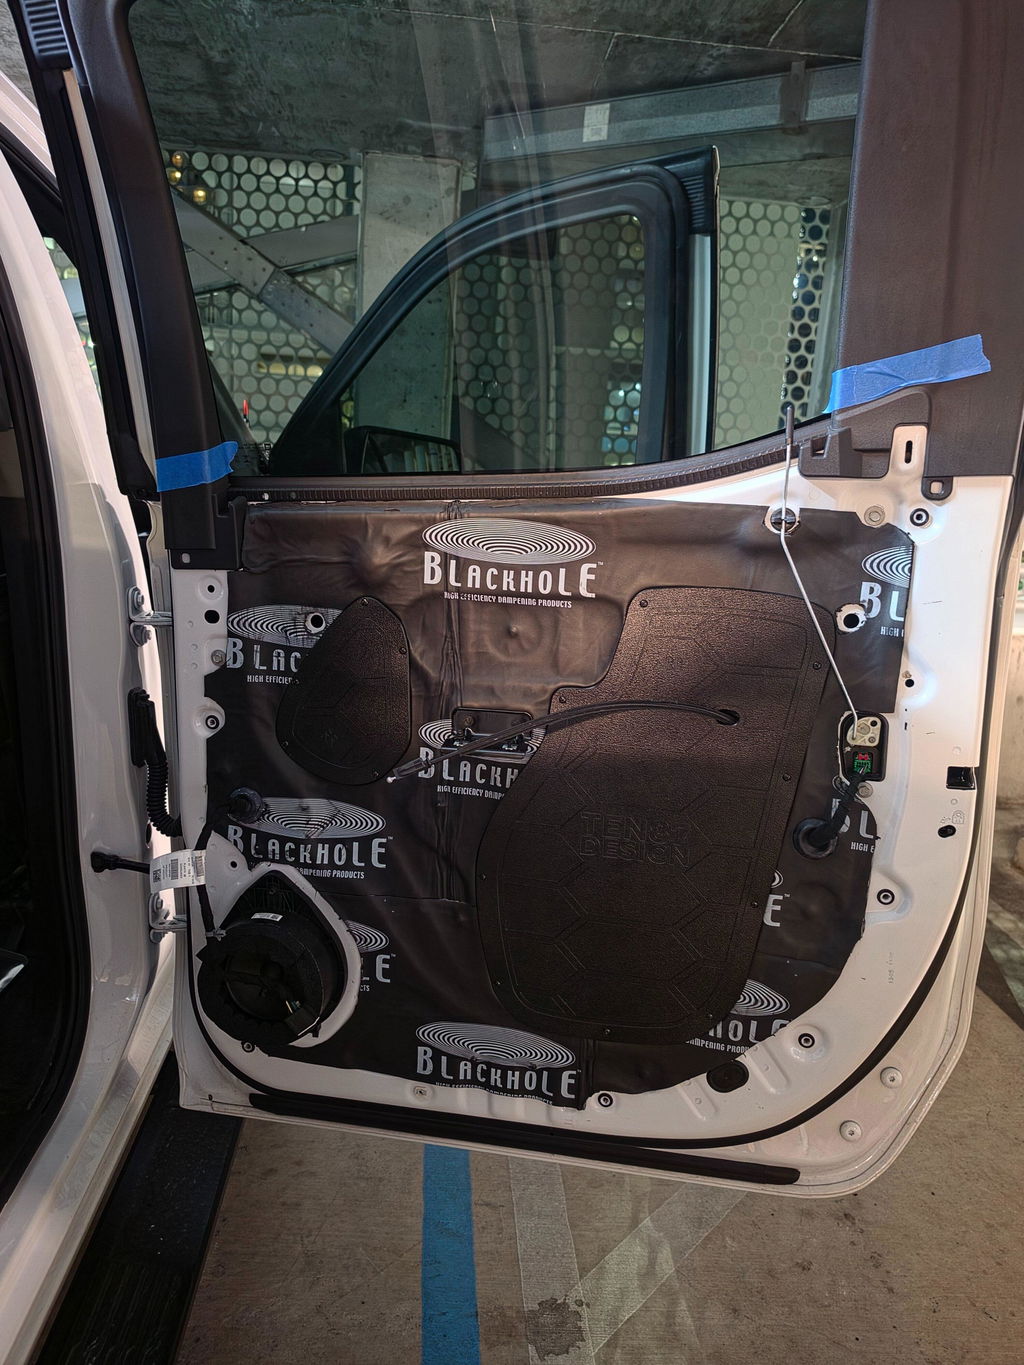
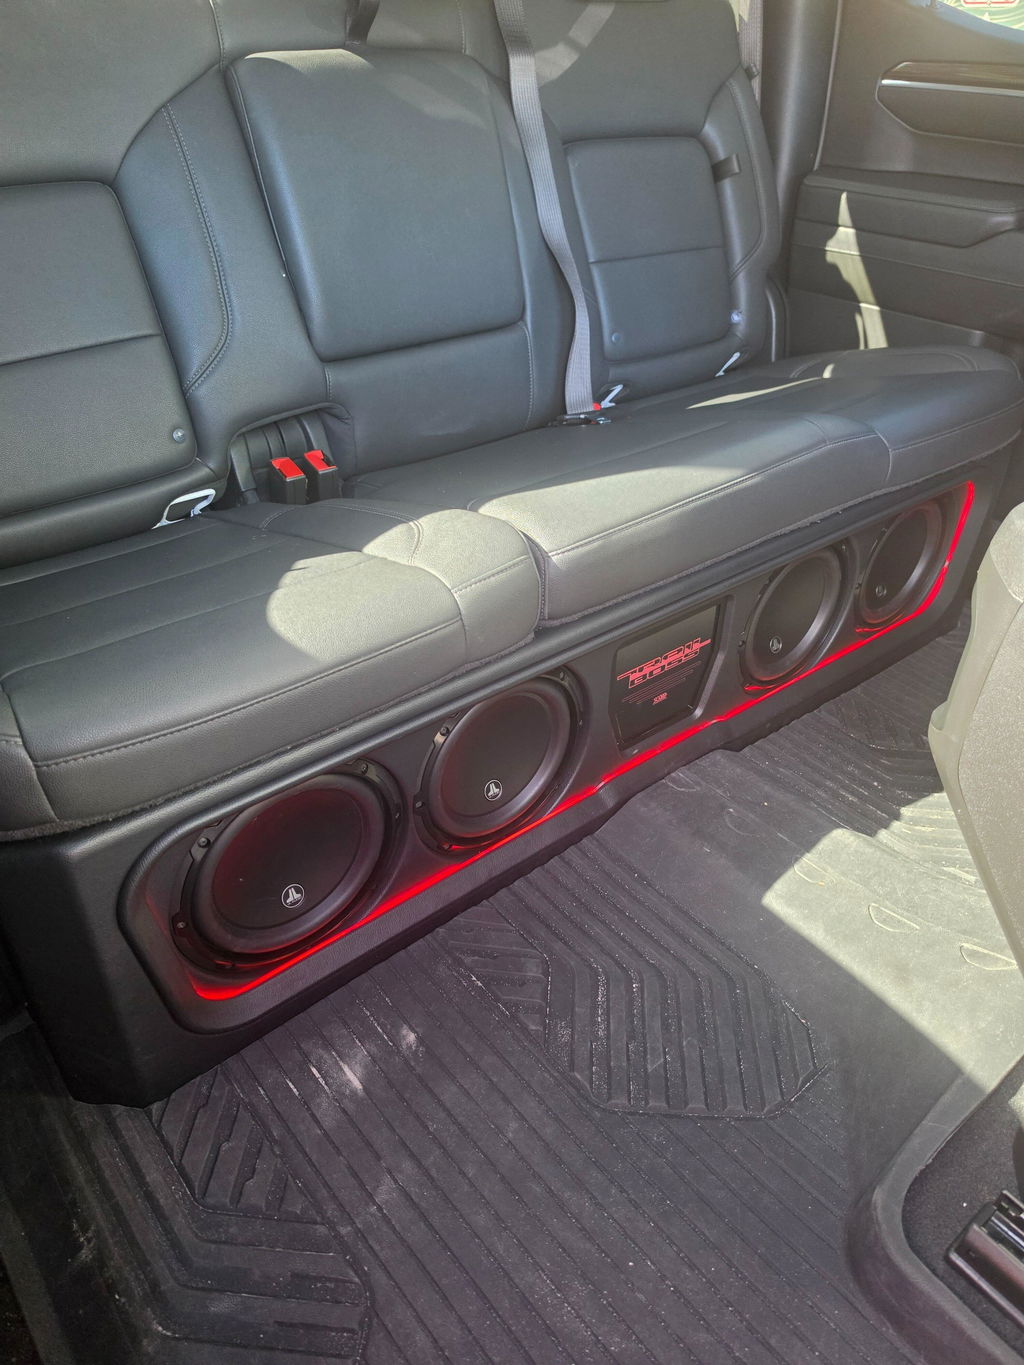
Great fit and material. Screws securely into door with hardware provided.
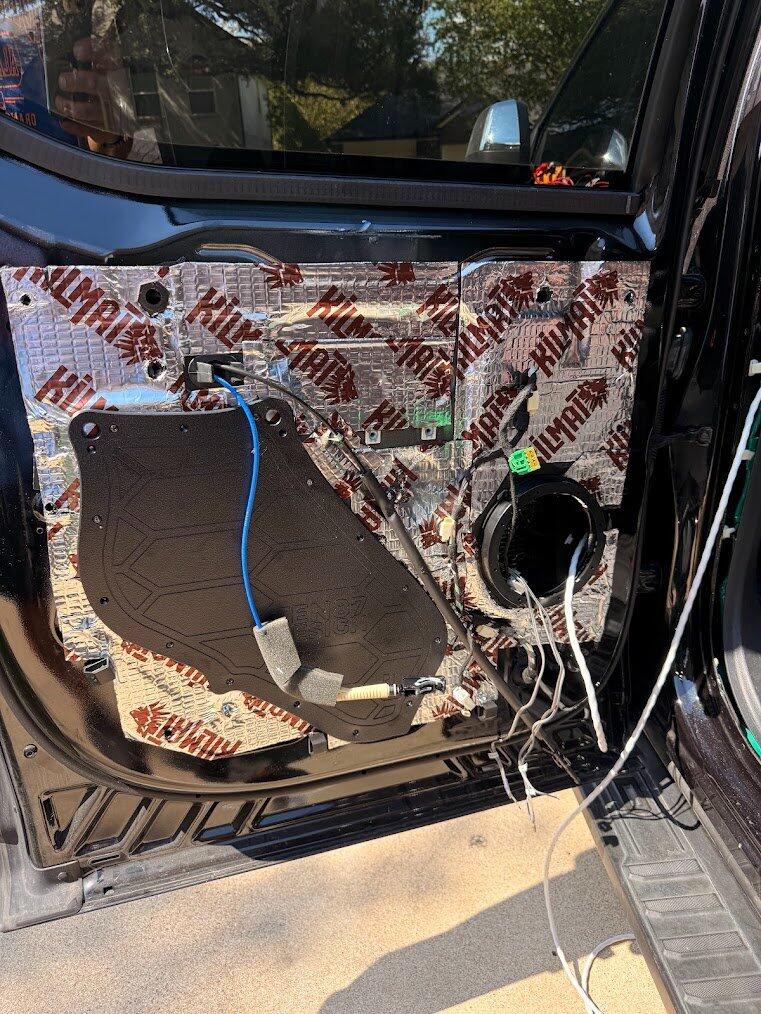
They were really easy to install and look clean and work perfectly


I ordered these along with the jl audio c1 kit for the front and rear. I only wanted to take the door panels off once so I went ahead and bought these block off plates..they essentially turn your door into an enclosed speaker box and gives you more bass. Also makes your doors feel more solid. Glad I purchased and installed these, I feel they bring out the best of the jl audio c1 kit!

Great way to seal the door enclosures for better sound vs the plastic film installed from factory. The F150 doors sheet metal are not perfectly flat/flush to match the block off plates in certain corners. I used more sound deadening to make a flat surface to eliminate any surfaces not making contact.


Installed these on my truck and they made a world of difference I have been doing my on stereo systems for over 20yrs even had some in competitions and this by far was an easier way to make door speaker sound better would definitely buy again
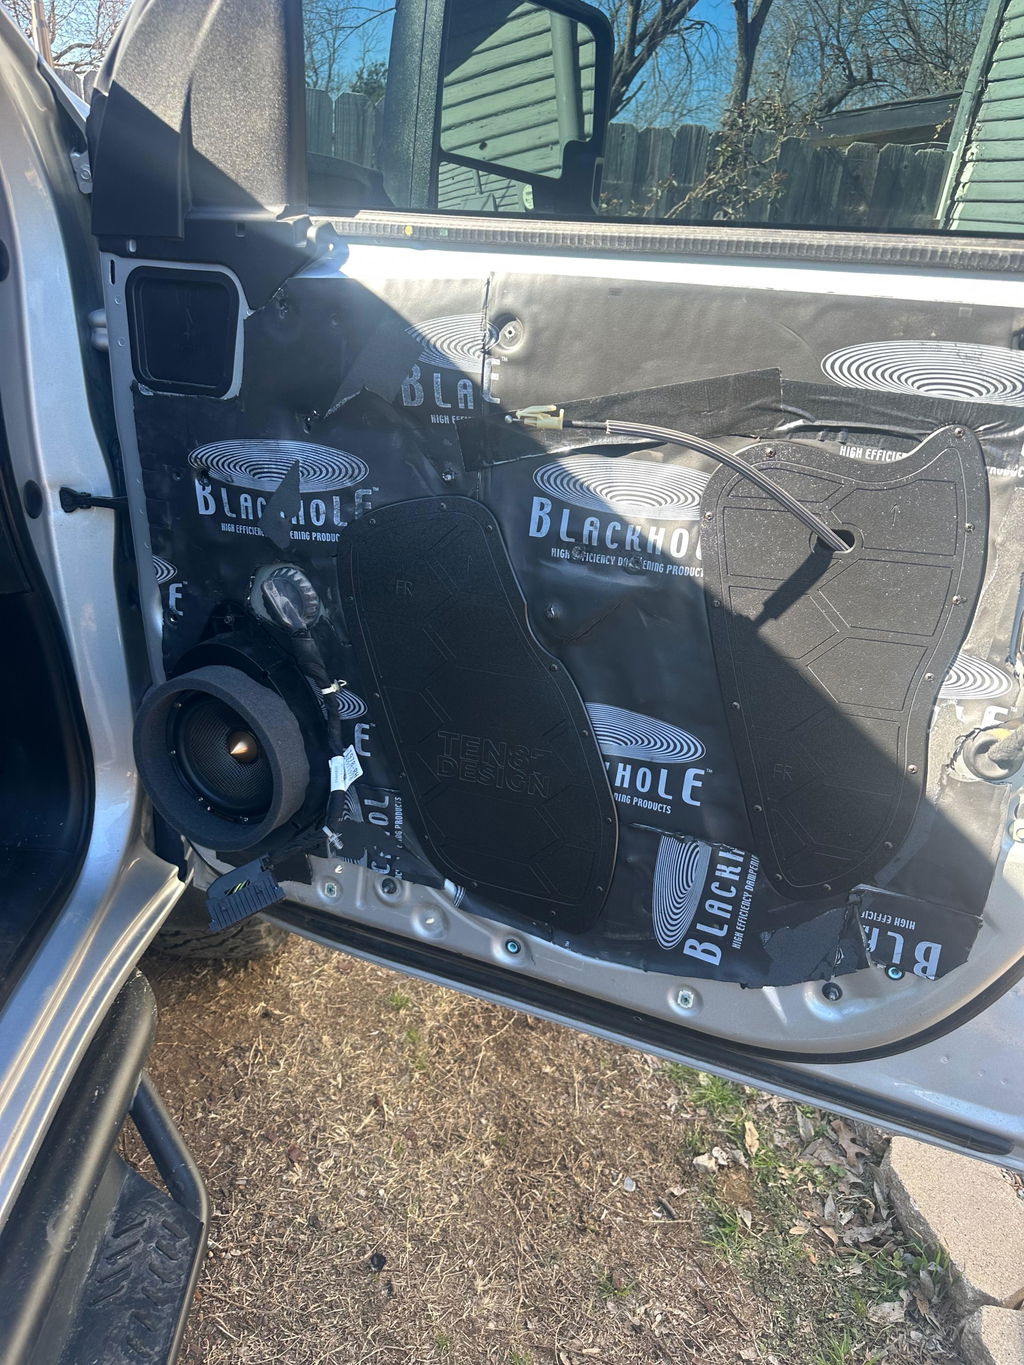
Awesome product. Very easy to install and fits great. Even the packaging looks top tier. I installed these and used sound deadening inside the door shells while I was replacing all the speakers in my 2022 F150. Drastically improved the sound over factory, the mid bass speakers have excursion now! If you’re replacing speakers and care about sound quality these are a must have. Thanks SG
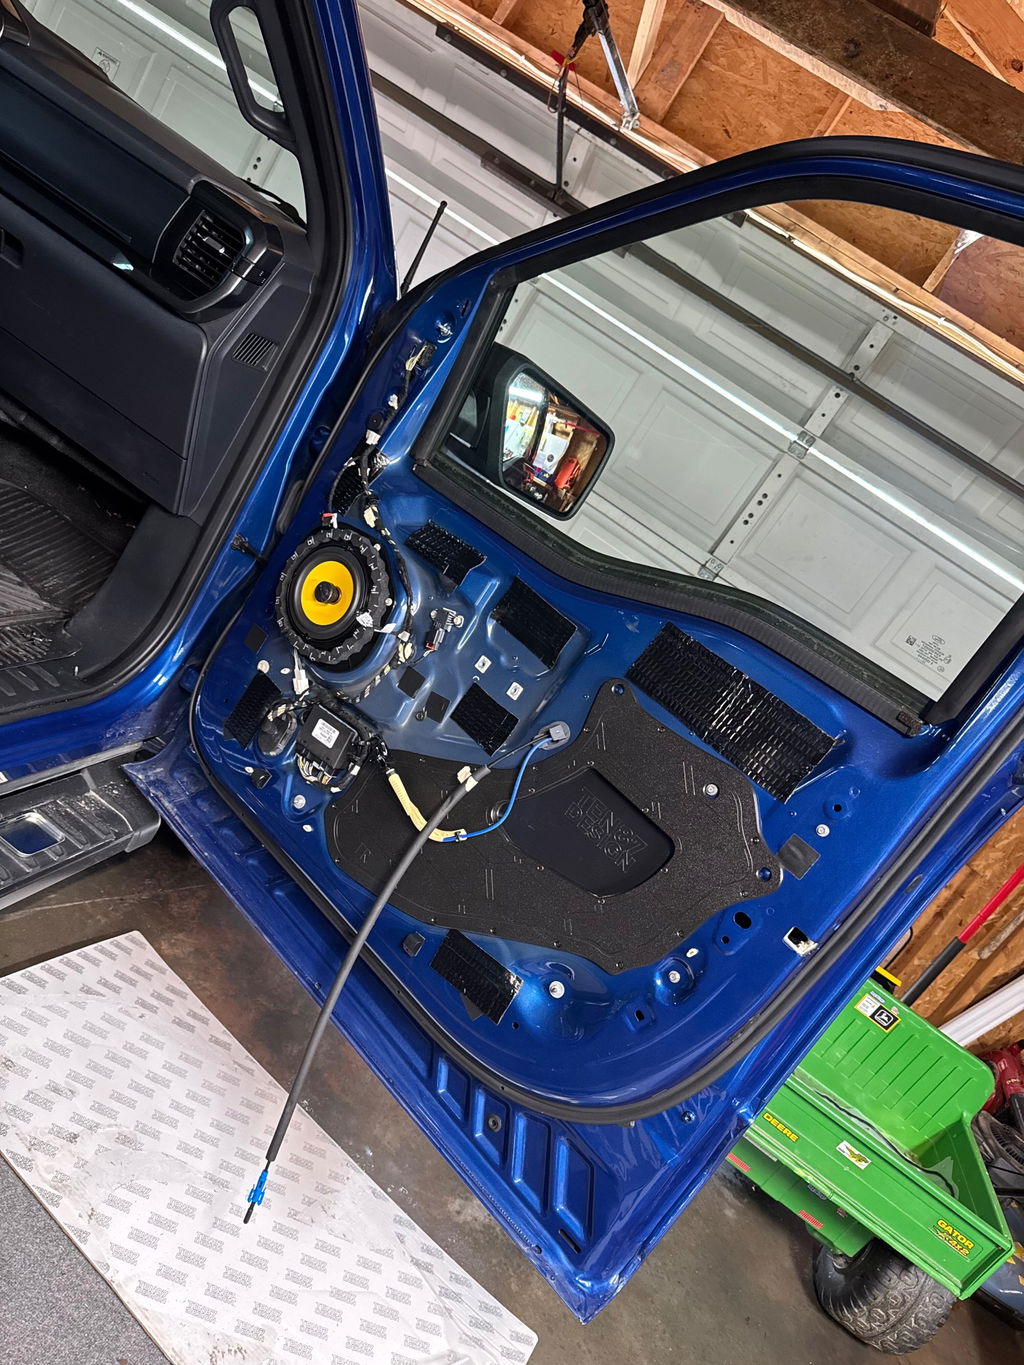
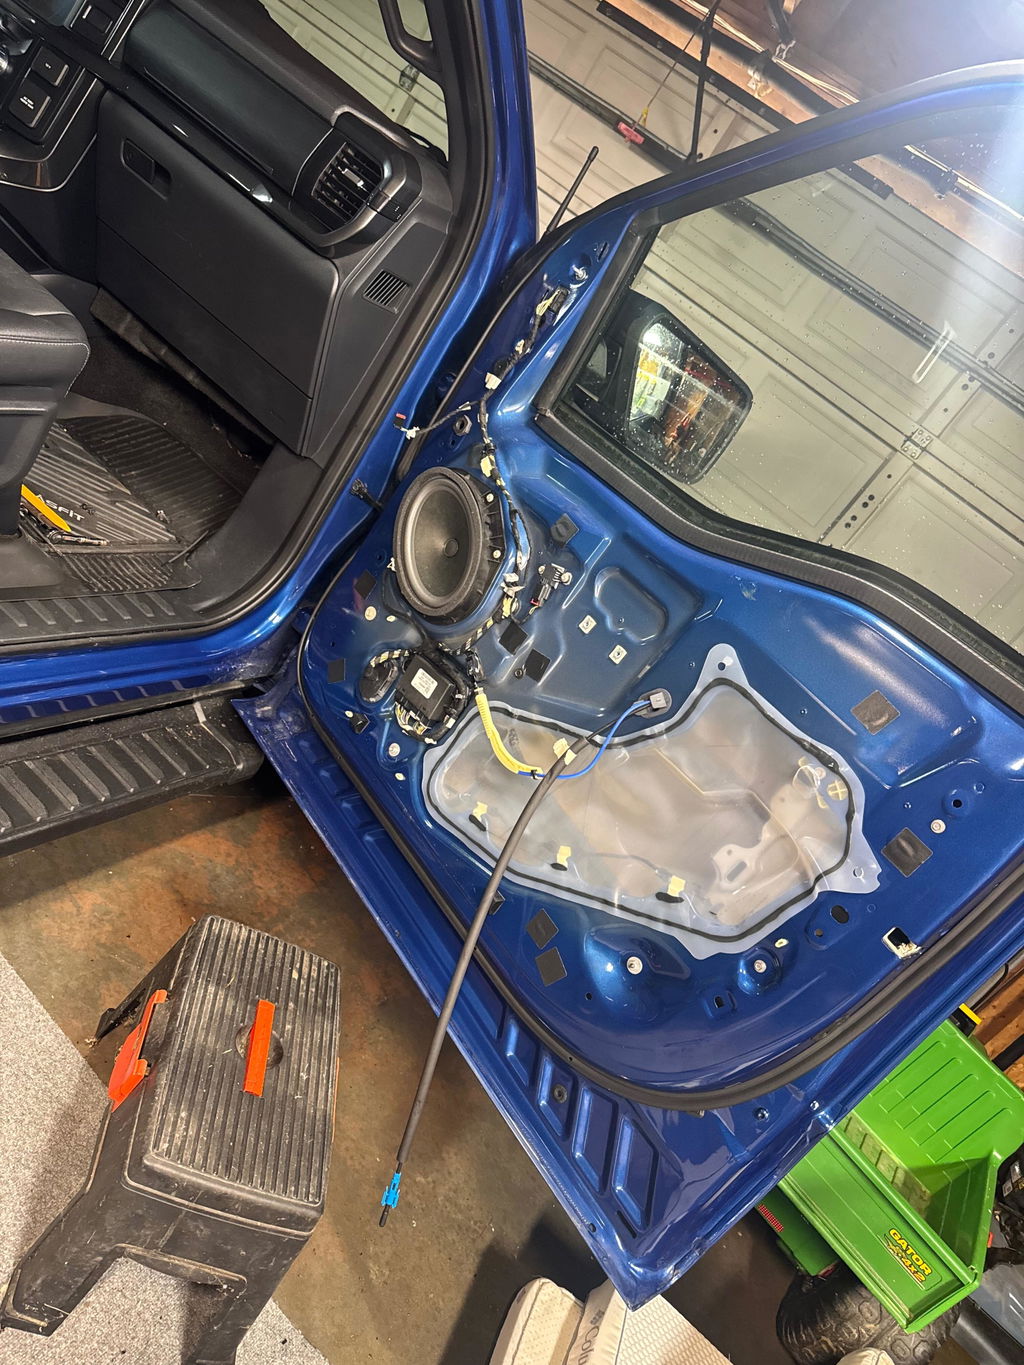
Works great. Speakers sound great. Very happy with my purchase.
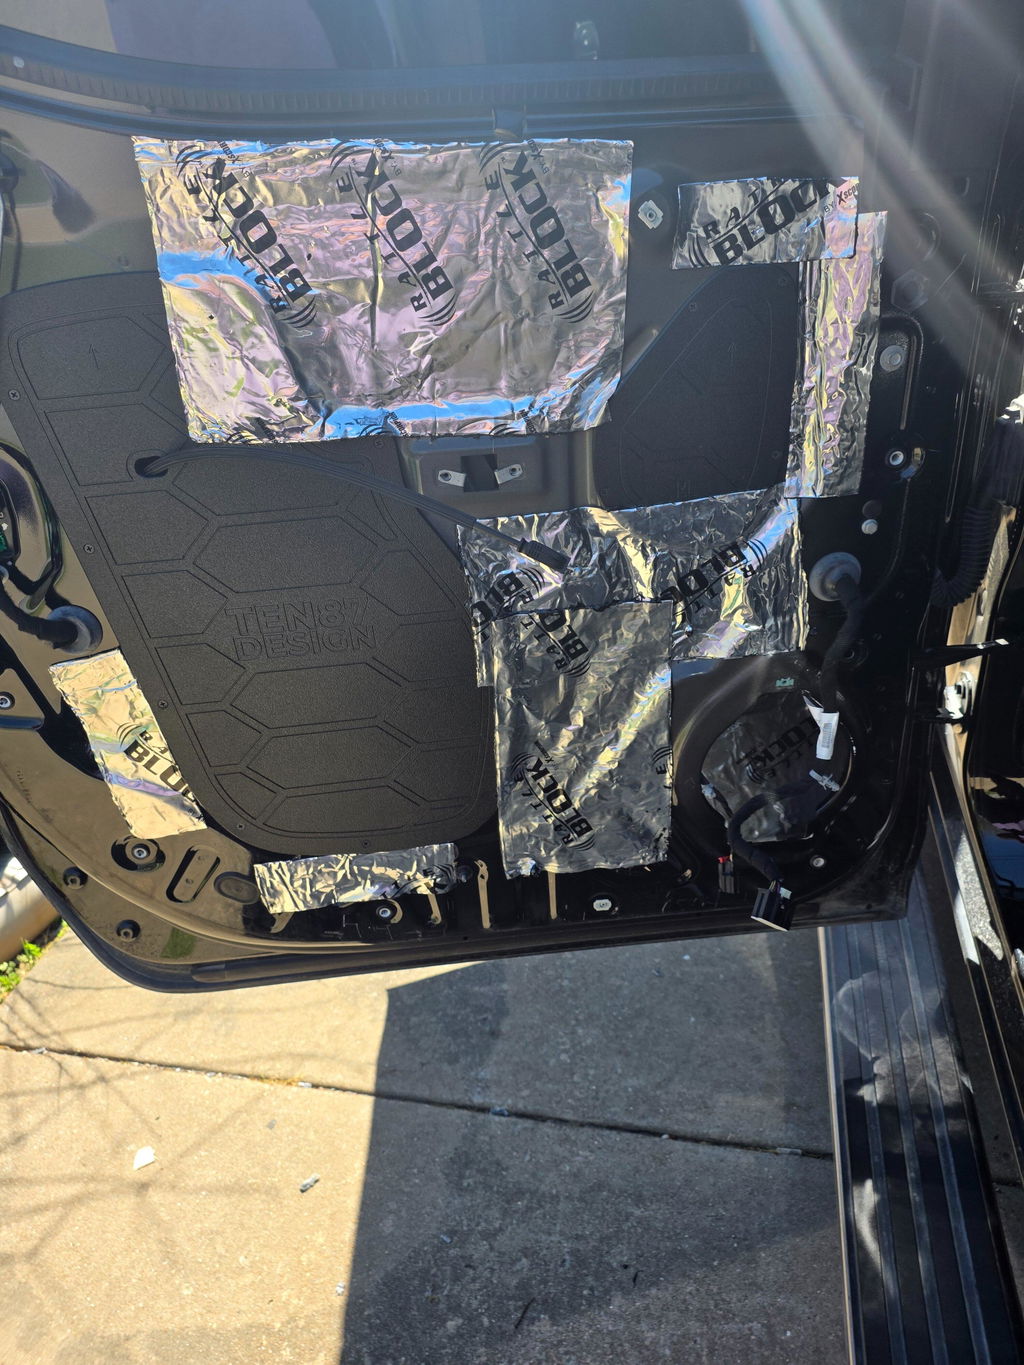
Ordering was easy and shipping was fast. I watched the videos and followed all the instructions carefully. When putting the door skins back, in my f150 Lightning, they would not snap together. Inspection revealed the recessed part of the plate didn’t align exactly with the high part of the door cover. Tech support had several ideas but was a little slow to respond. Nothing fixed it until cutting off the high part of my door. Expect that you may need to cut or modify your door to make it go back together. Keeping that in mind, it does do a great job of sealing the “box” for your door speakers. Sounds good!!
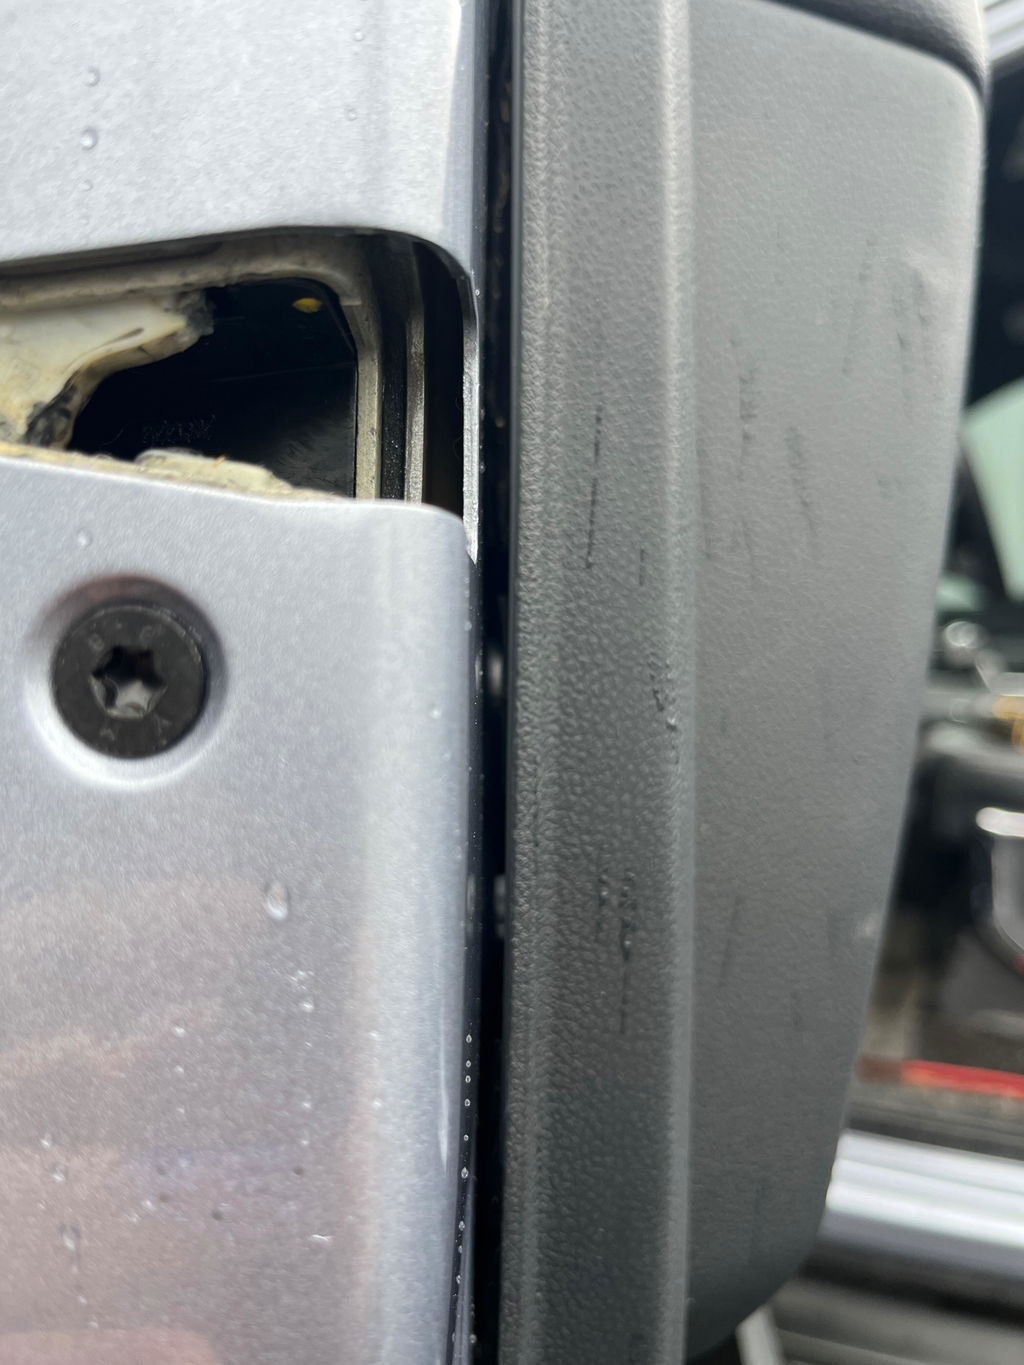
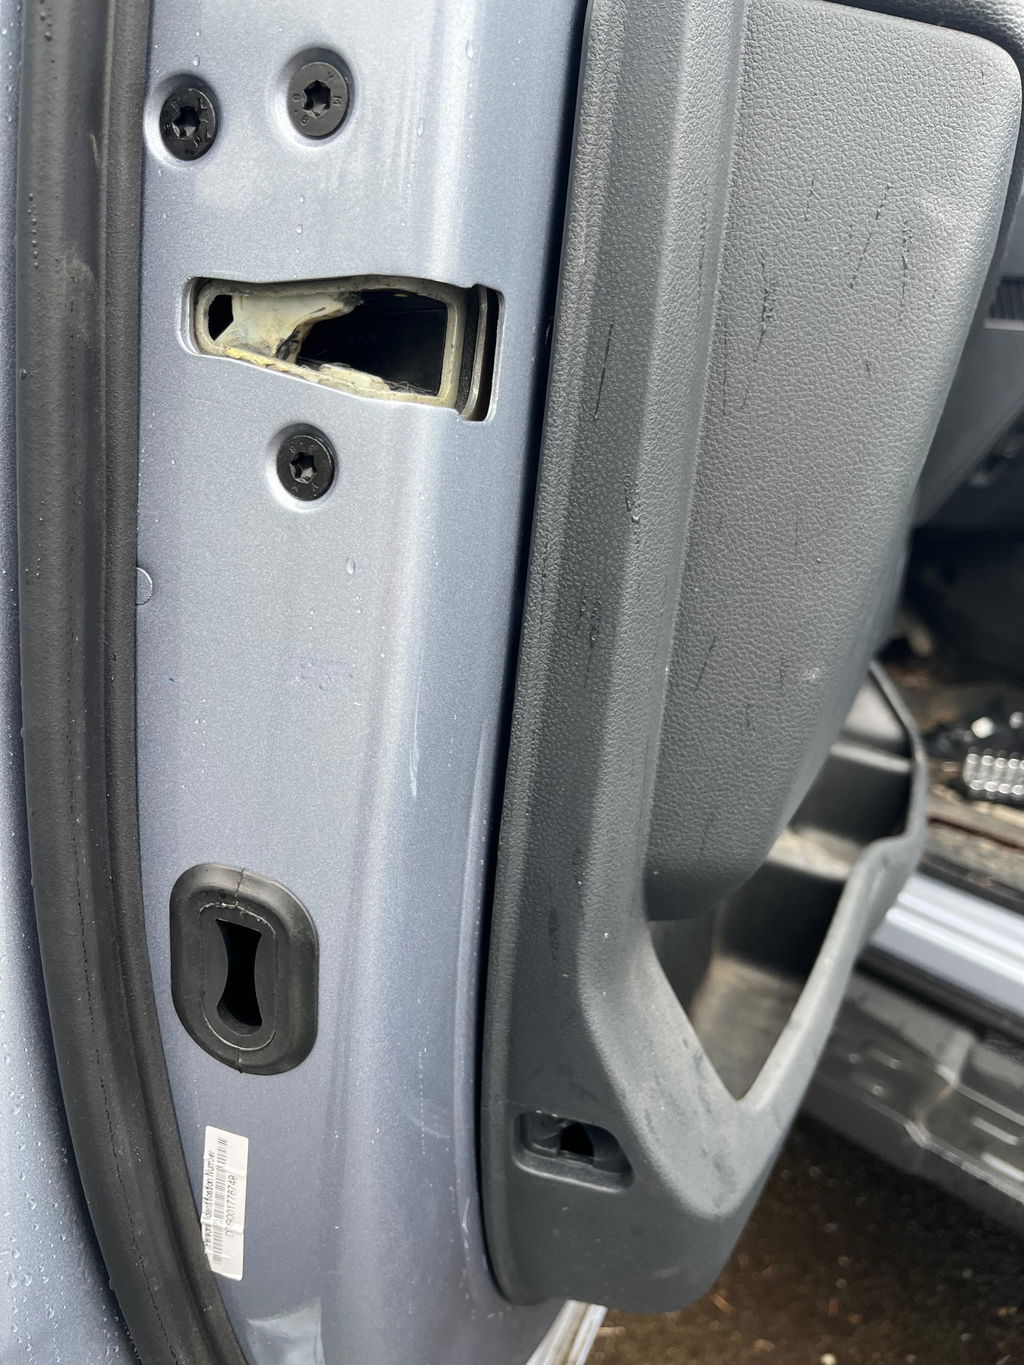
Great product. Noticeable difference in sound. Perfect fitment, even the screw holes are placed to avoid factory wires and other door/window components. The amp rack is a clean fit. And customer service was quick to response and resolve my issue.
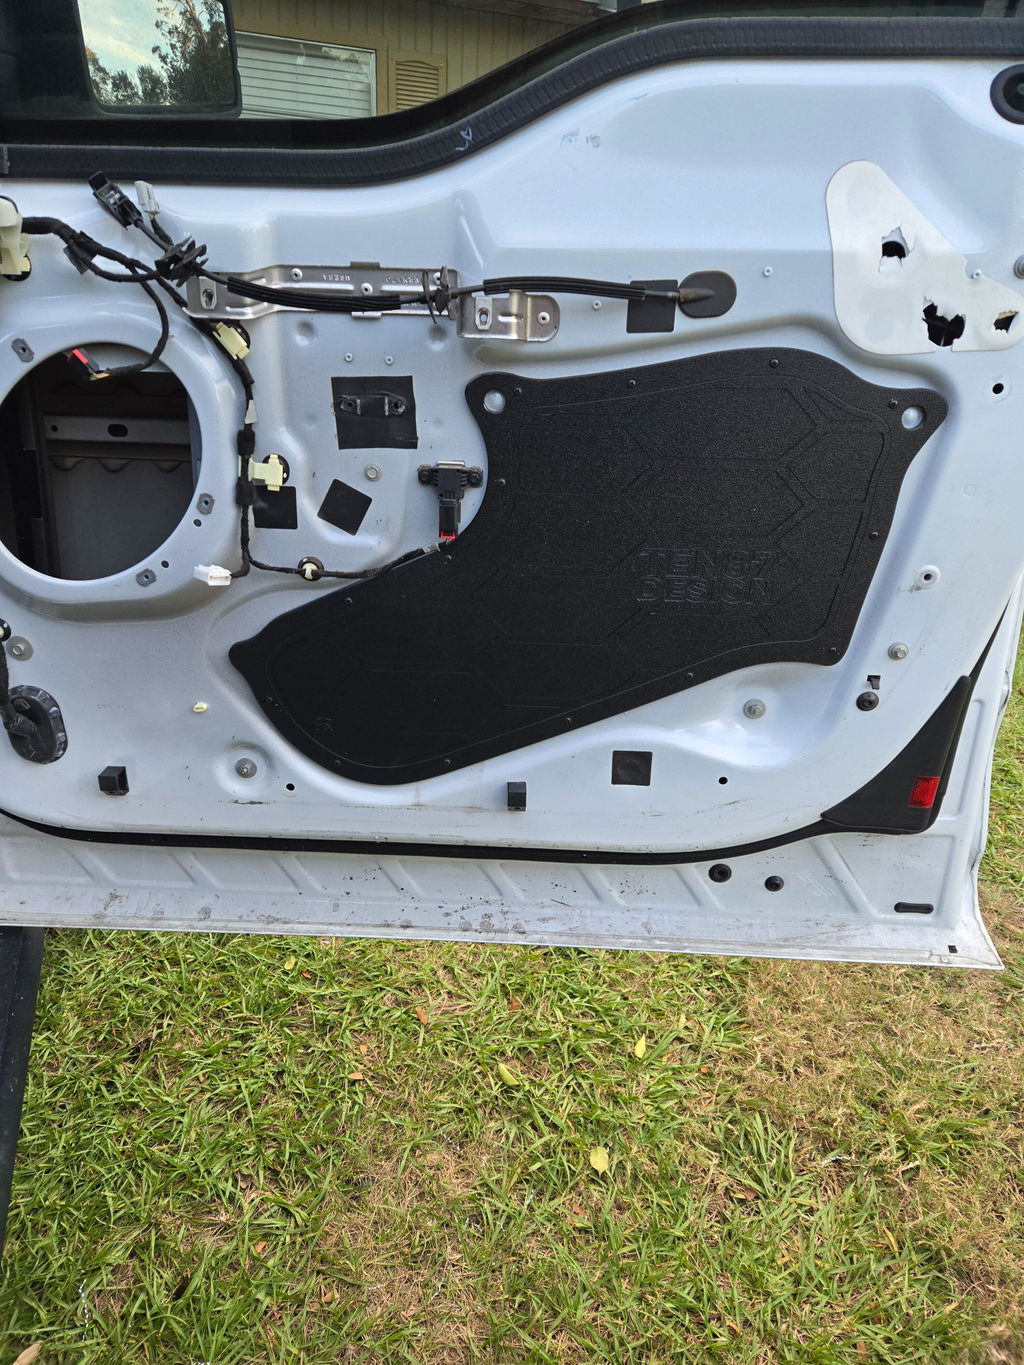
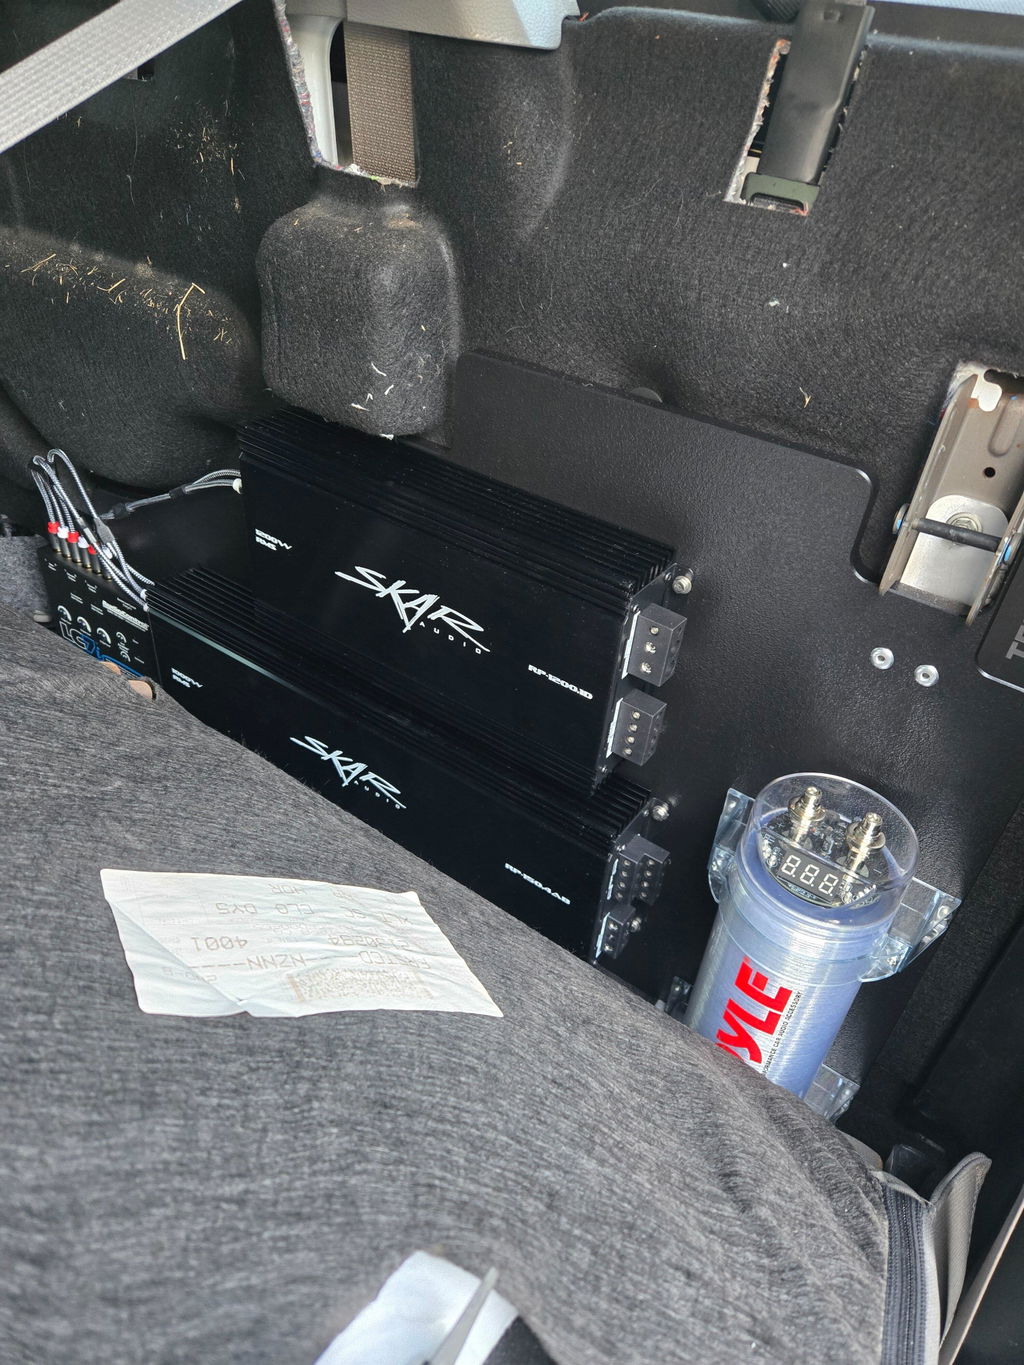
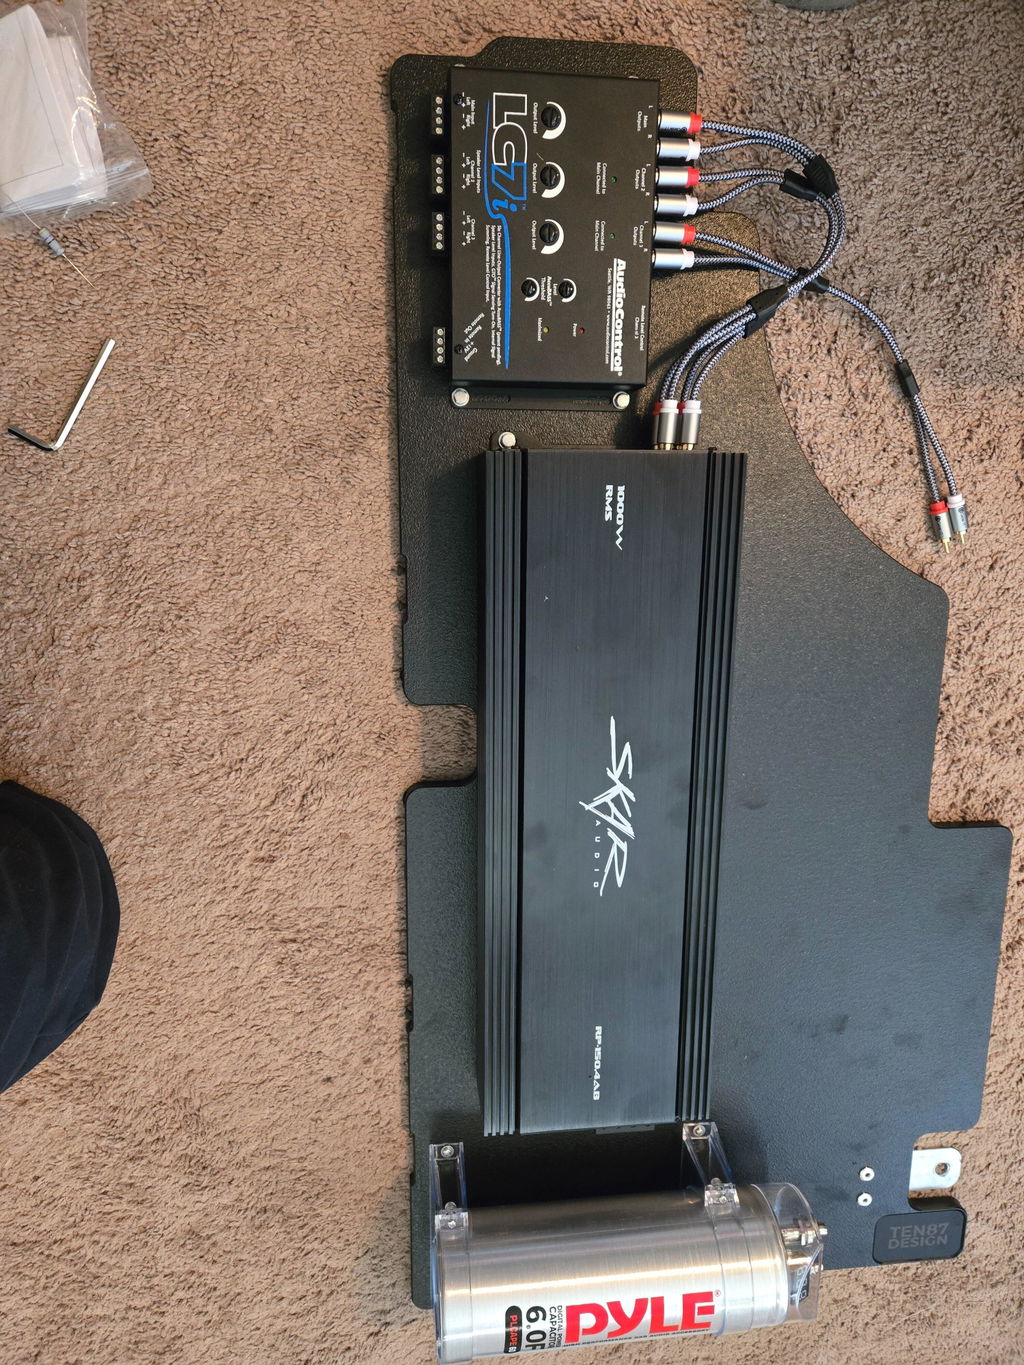
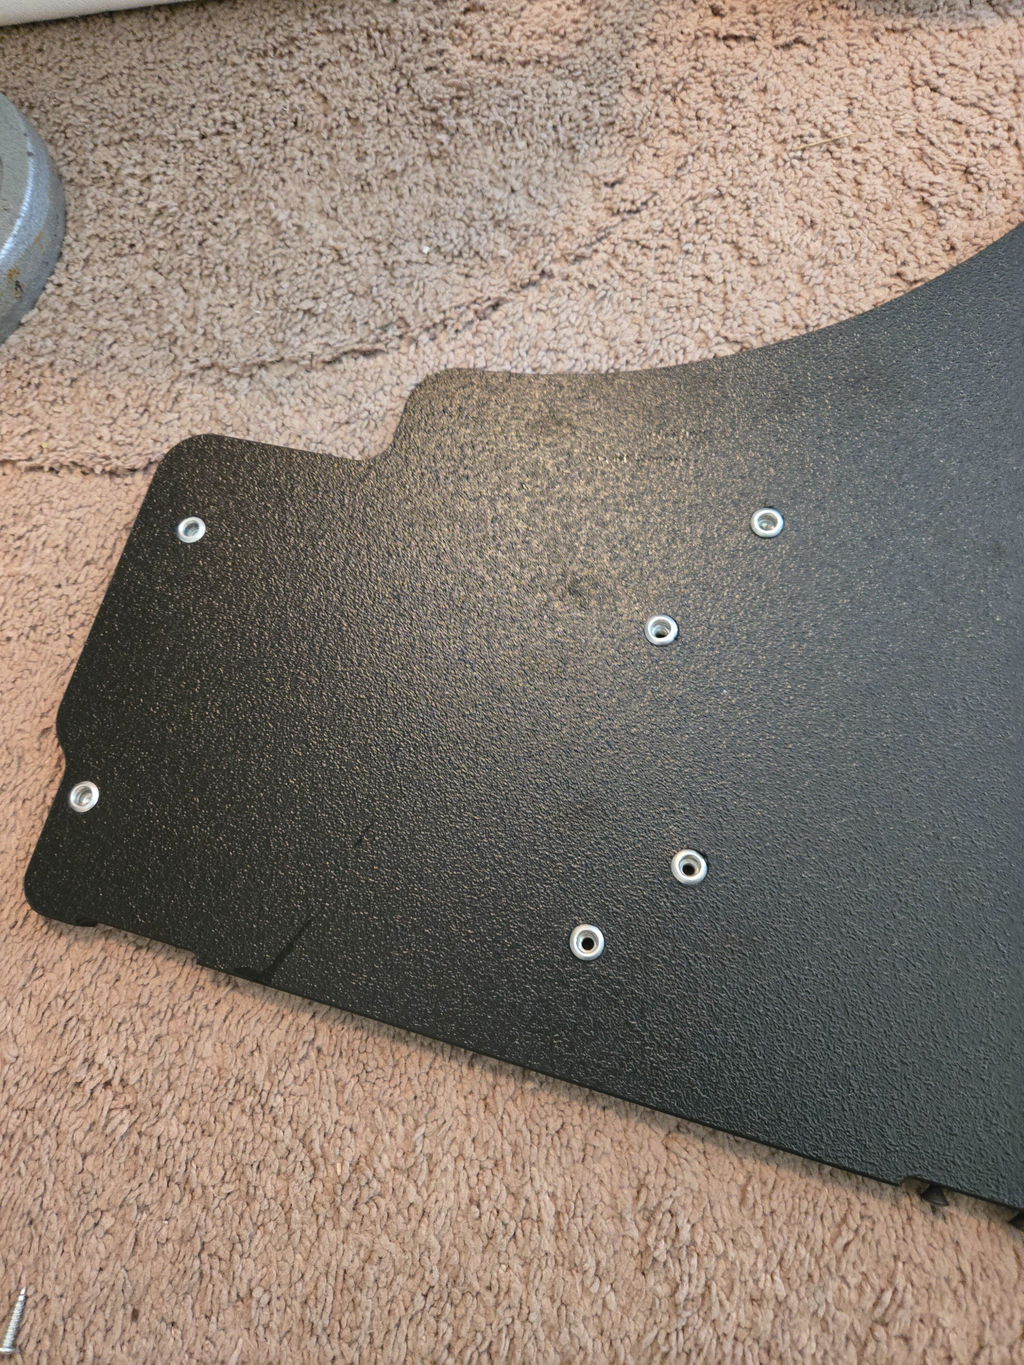
I ordered theses hoping they would help with just over all clarity of the factory Bose speakers. Well it worked, much tighter and distinct Bass and the highs are much clearer now. Only complaint is I REALLY wish they would have sent Self tapping screws instead of just regular screws. Having to Set 2 screws to tighten the panle down so its contoured to the door, then mark every hole, remove the 2 screws, pre-drill every hole, then put the pnl back up and install the screws was VERY annoying. The screws are much to long in my opinion as well. 1/4 in. Self tapping screws would have been perfect. There is no quality or detail skipped on these panels, I added some expandable weather stripping under the rear panels because of how the door is designed it leaves quite a bit of metal under the blocker plate and I didnt want that to possibly rattle, also a piece is needed between the window motor and door panel as it will rattle as the door flexes. I also wish they would have sent some flush plugs for the holes that are left open after removing the factory dust liner. Just seems like something that should be included to help seal the door off even more.
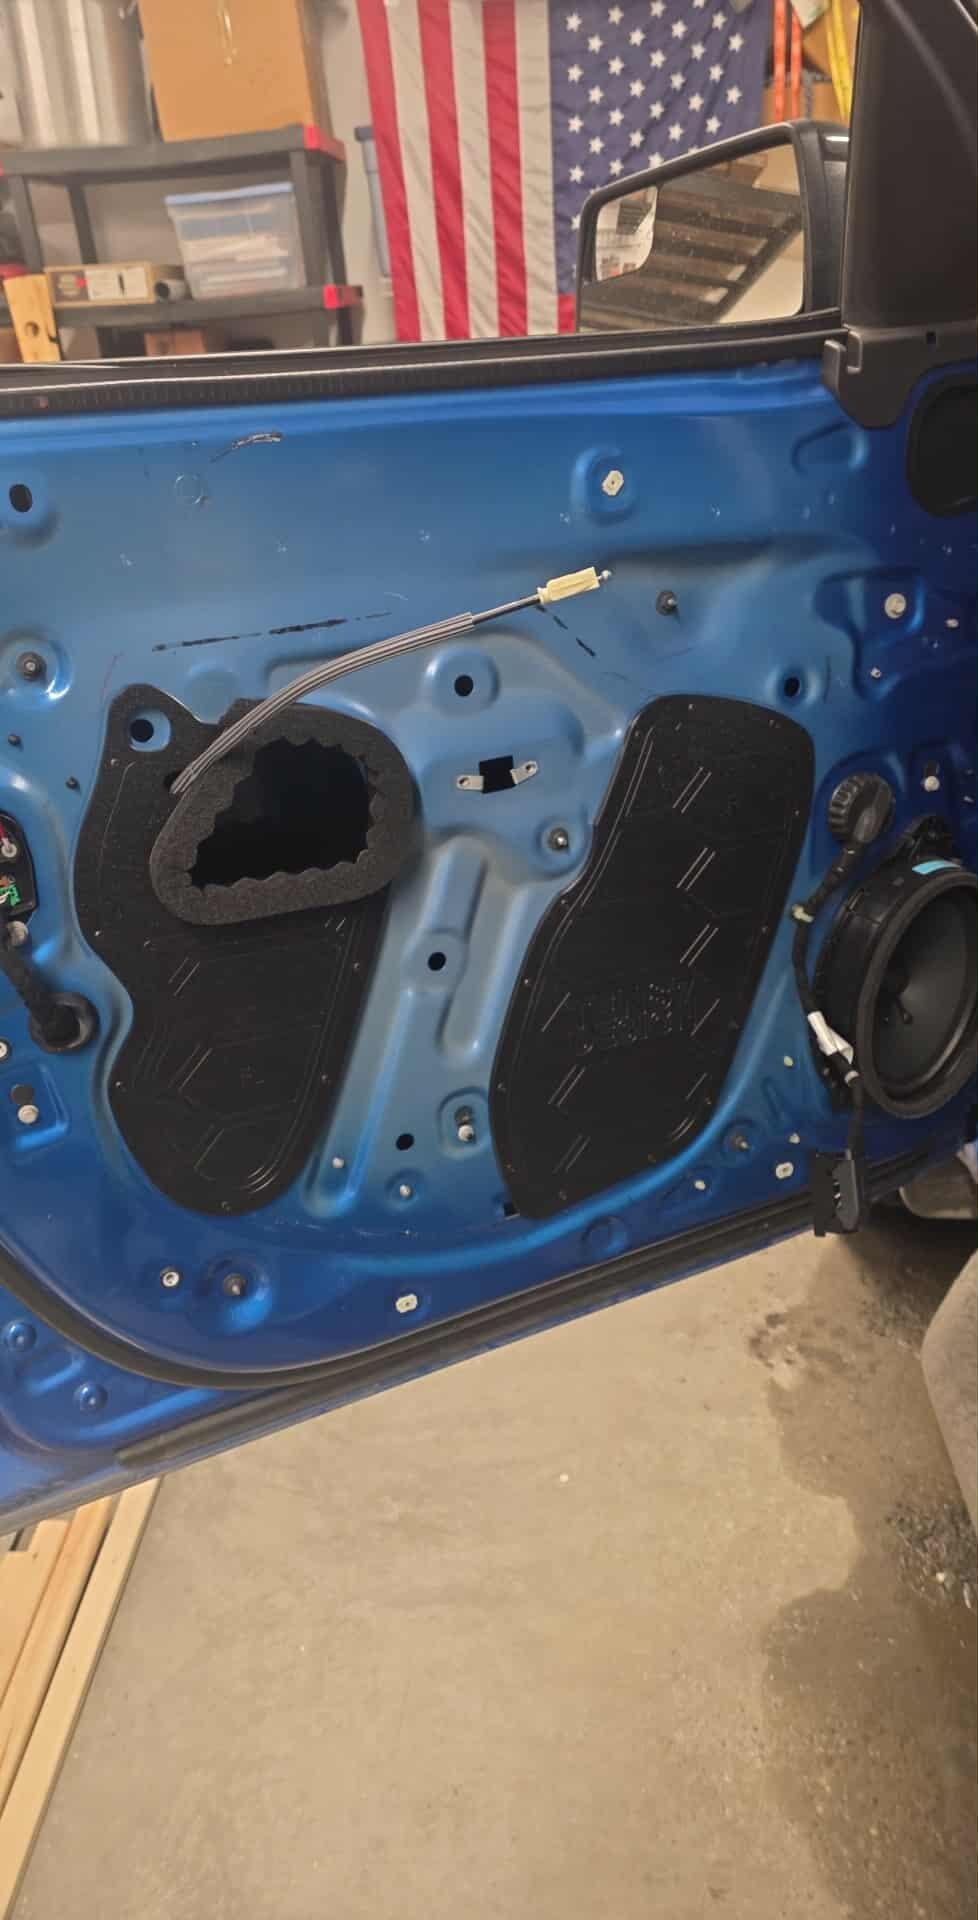
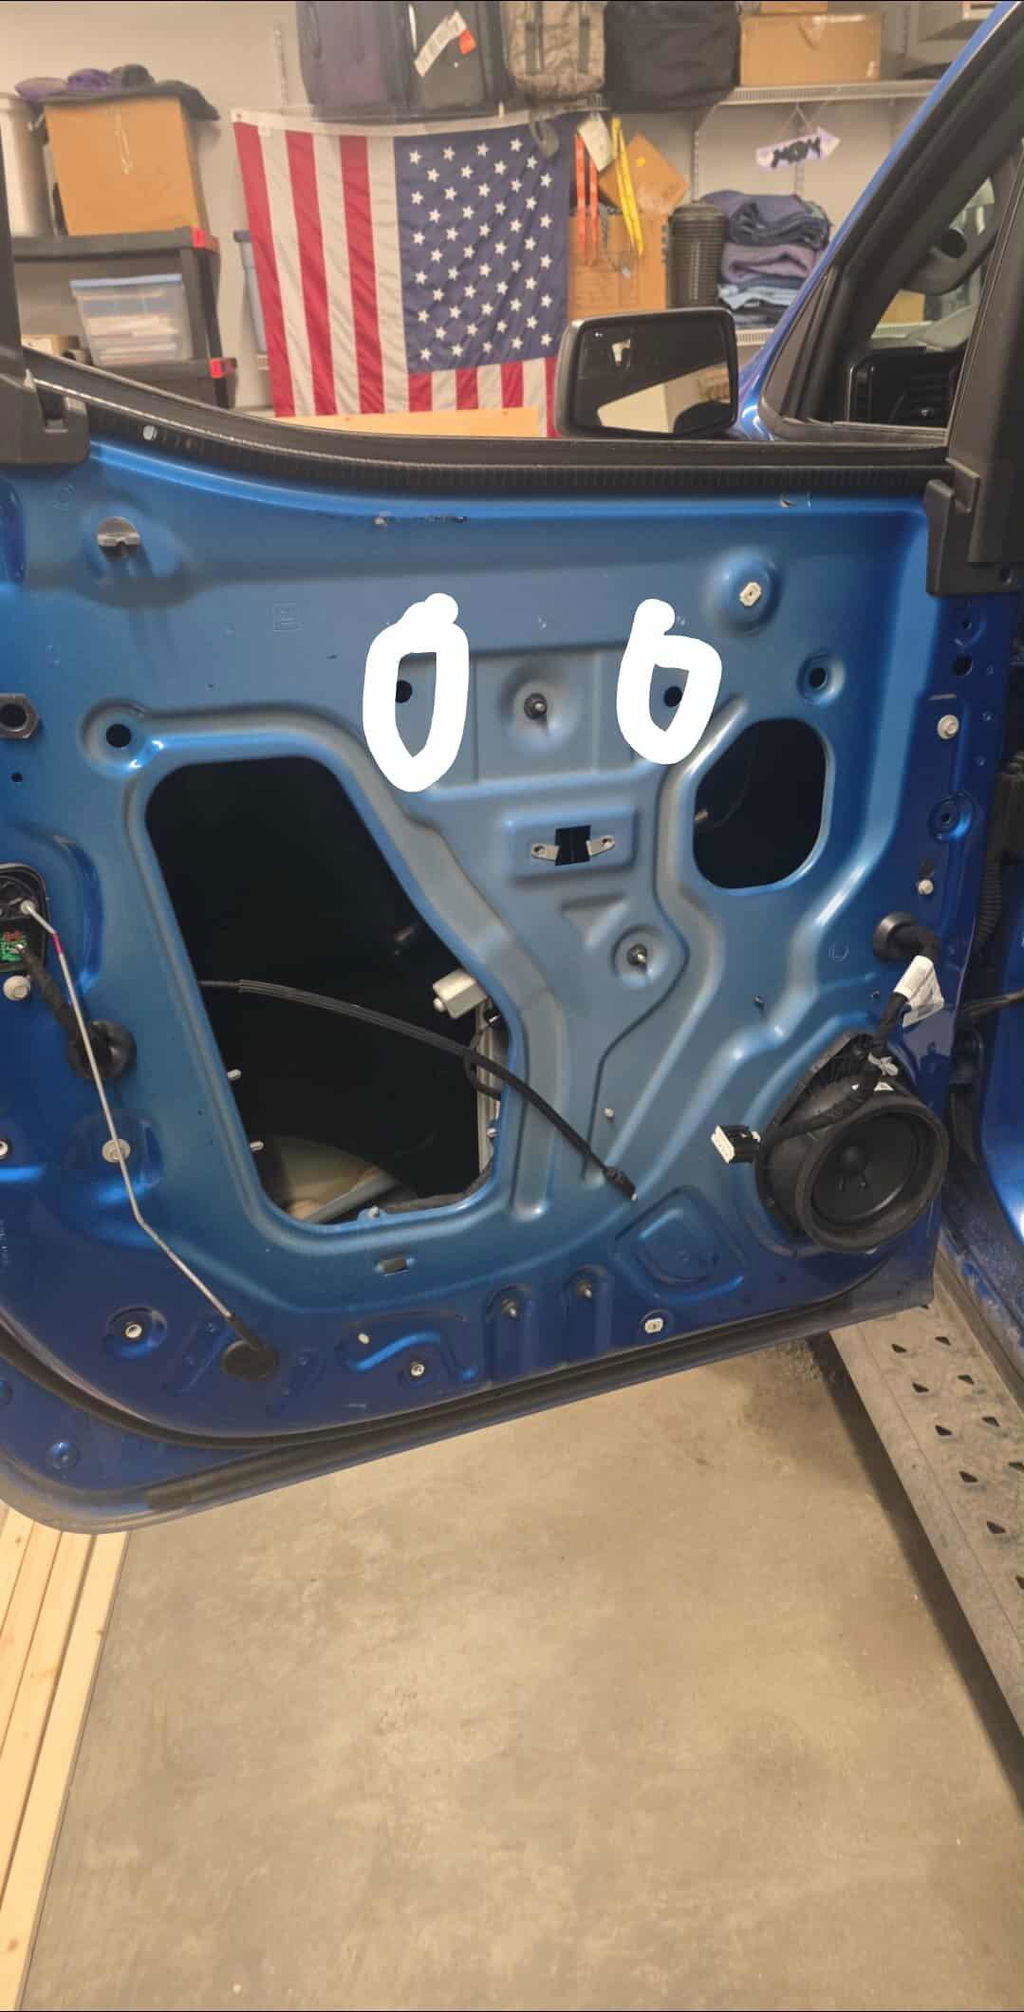
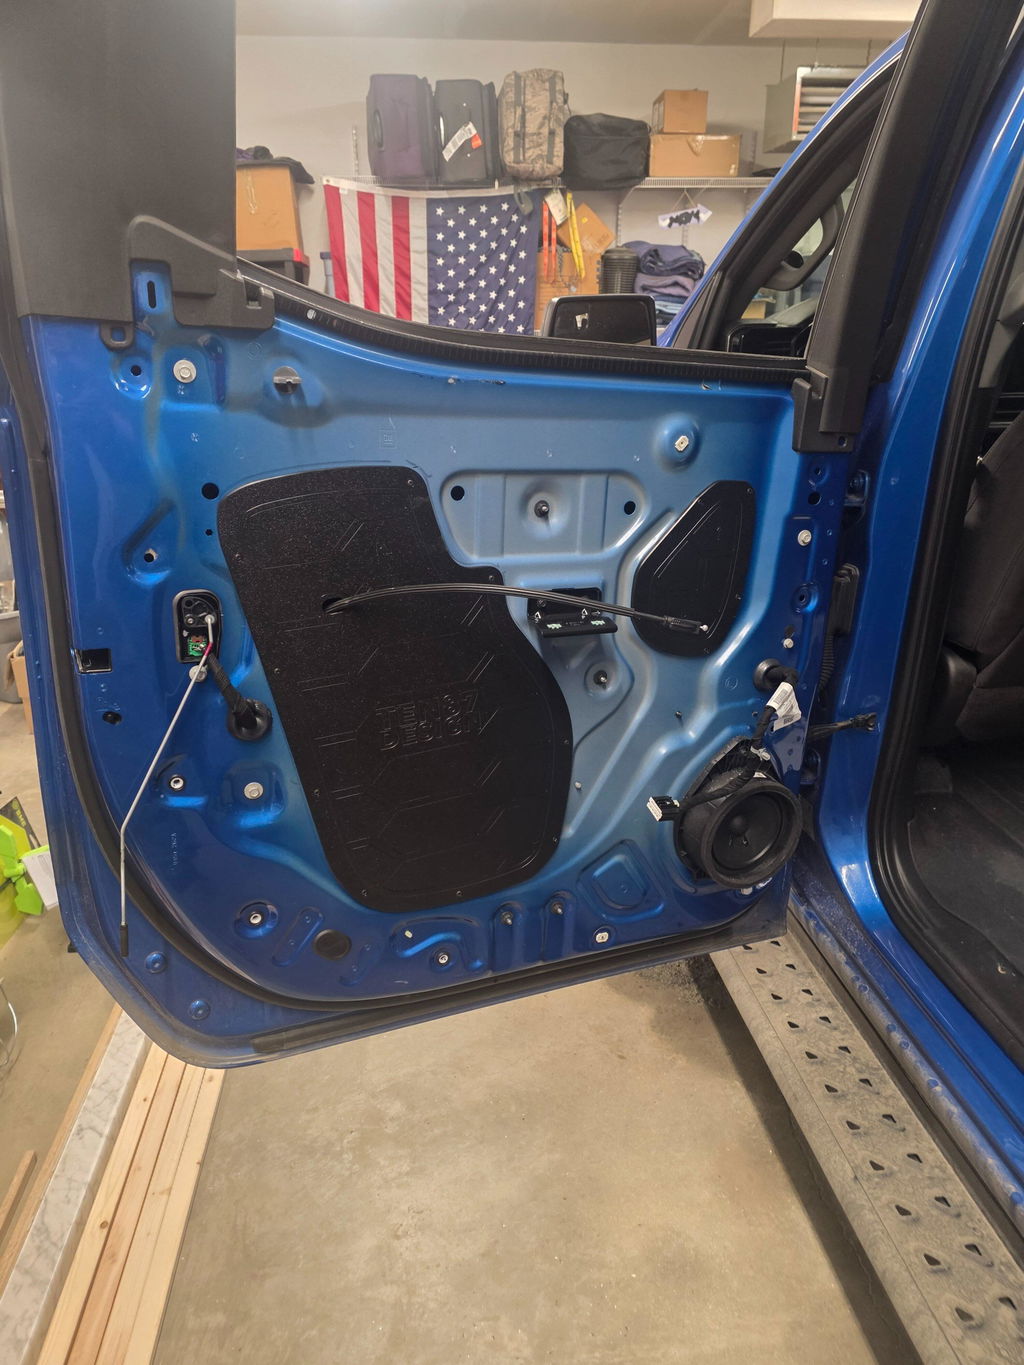
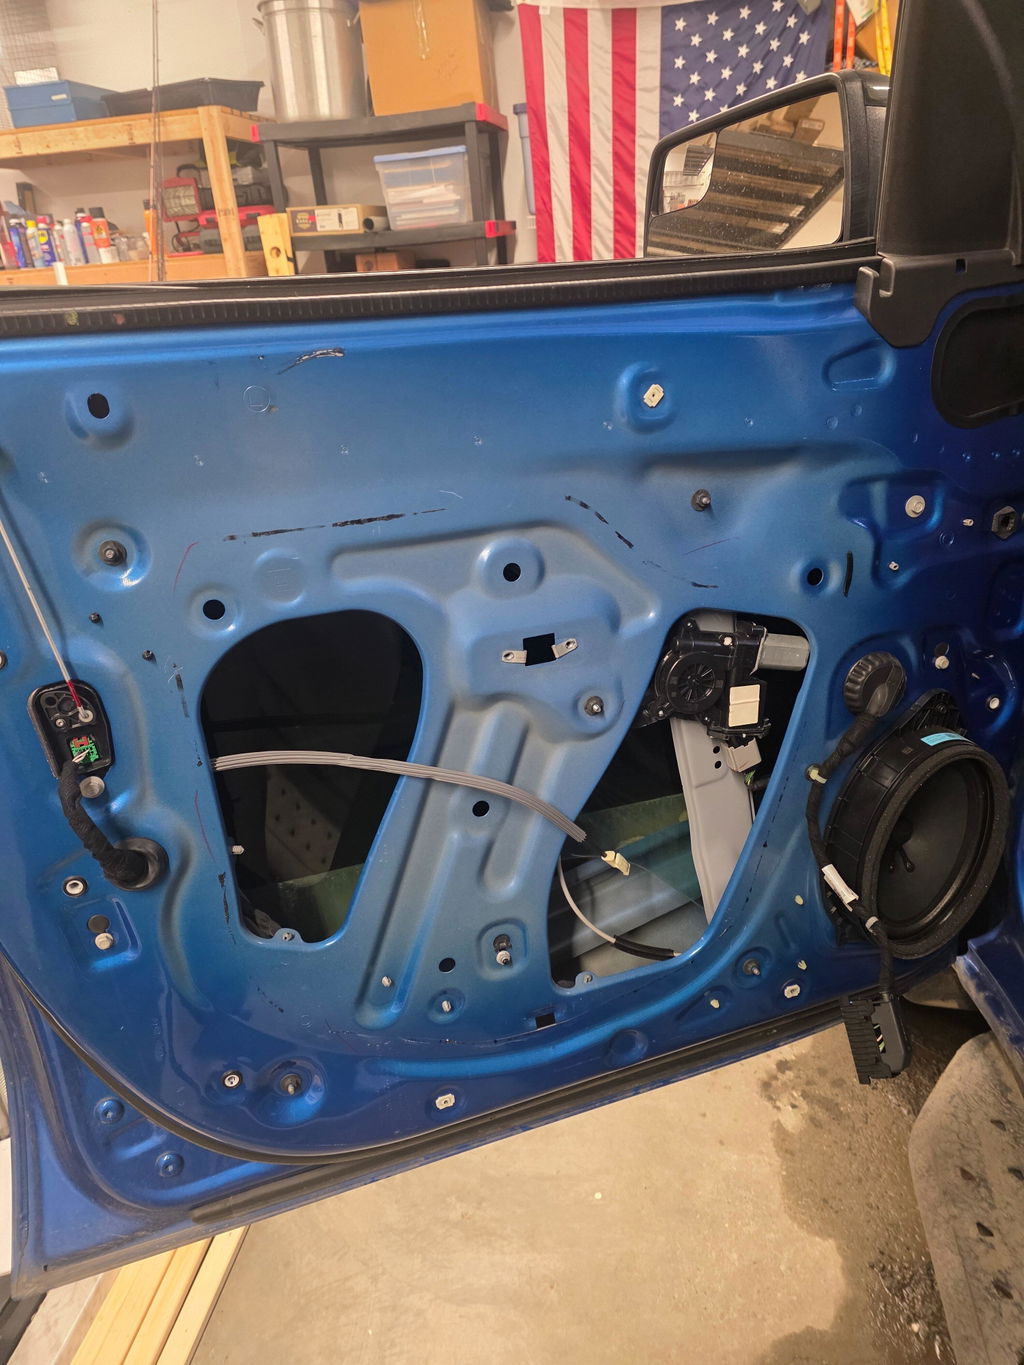
Great fit and very solid thick dense plastic very well made had to order the rears too.
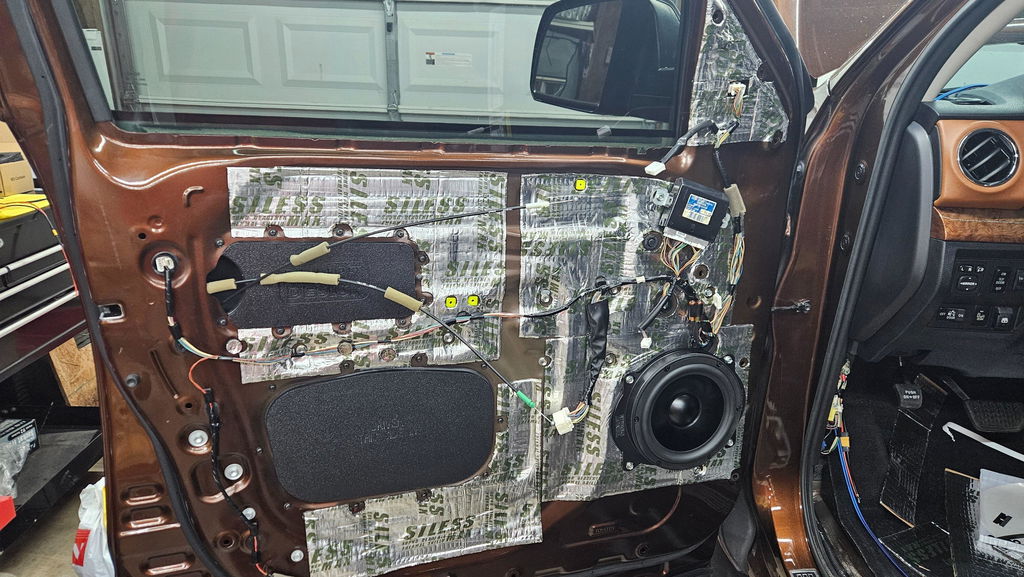
Although its an amazing product I think one of the problems I had is when I was putting the front door panels back on it wouldn't quite fit exactly right other then that it did what I said it would but I wouldn't go out bragging that it blocks of road noise but it does reduce like 30% also I had to add a gasket on to the back side to help it seal better because the door itself had a lot of curves like protruding Inword and make the flat surface of the block off plate kind of useless what I did to help with the flex is left the plate on the dash to heat it up to give the plates more flex so it can mold more better to the door but to be honest its not worth the $200 price tag and in the end I should have just went with just regular sound deadening ro covor it and that might just solved my problem with the door panels and sound quality
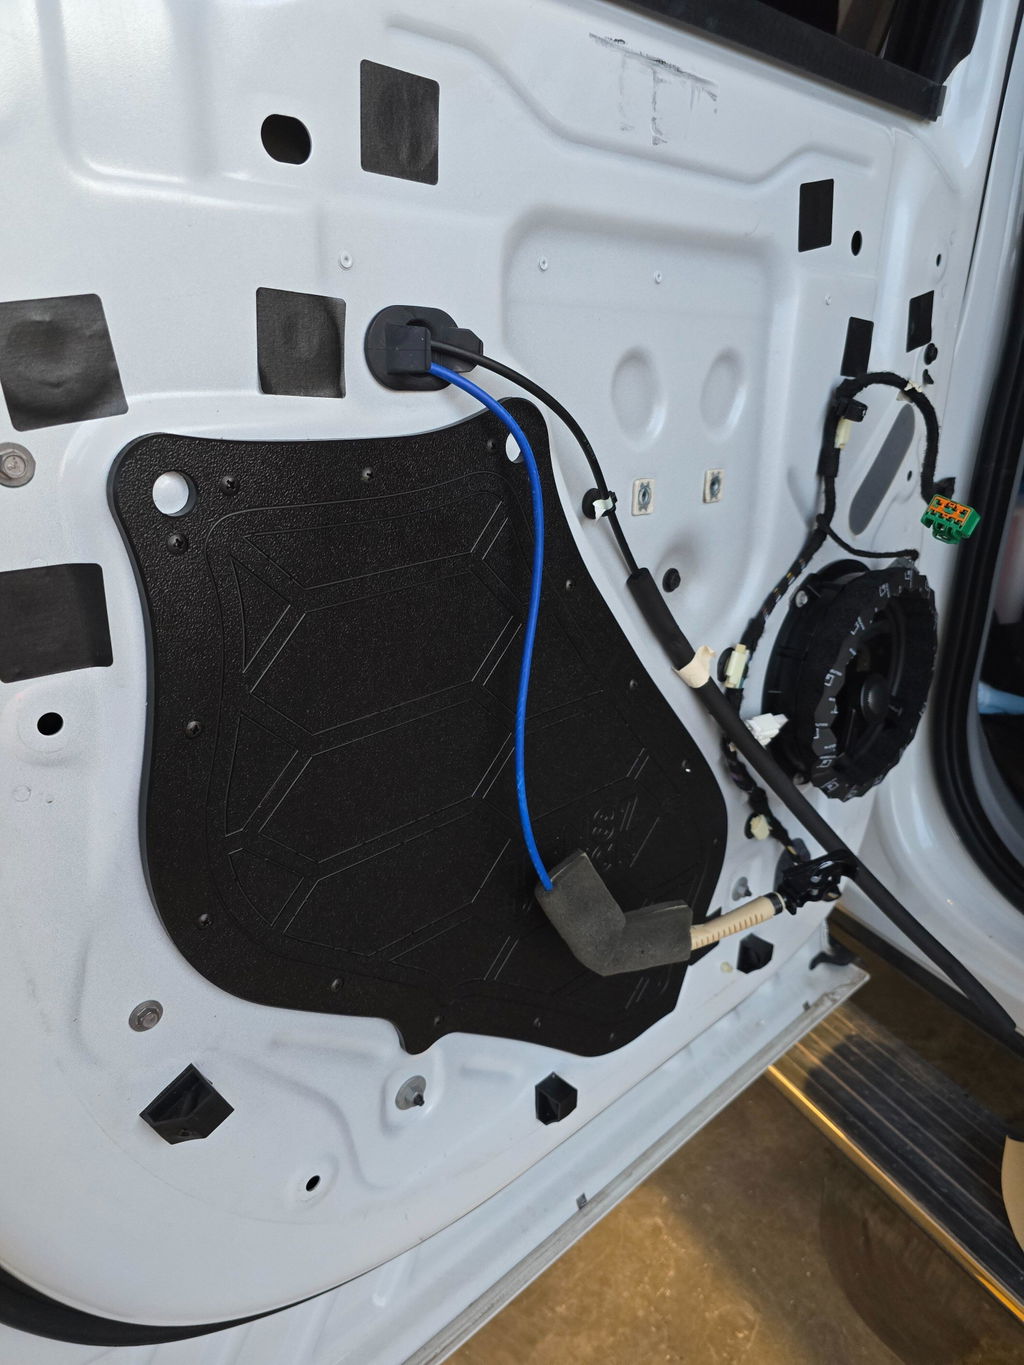
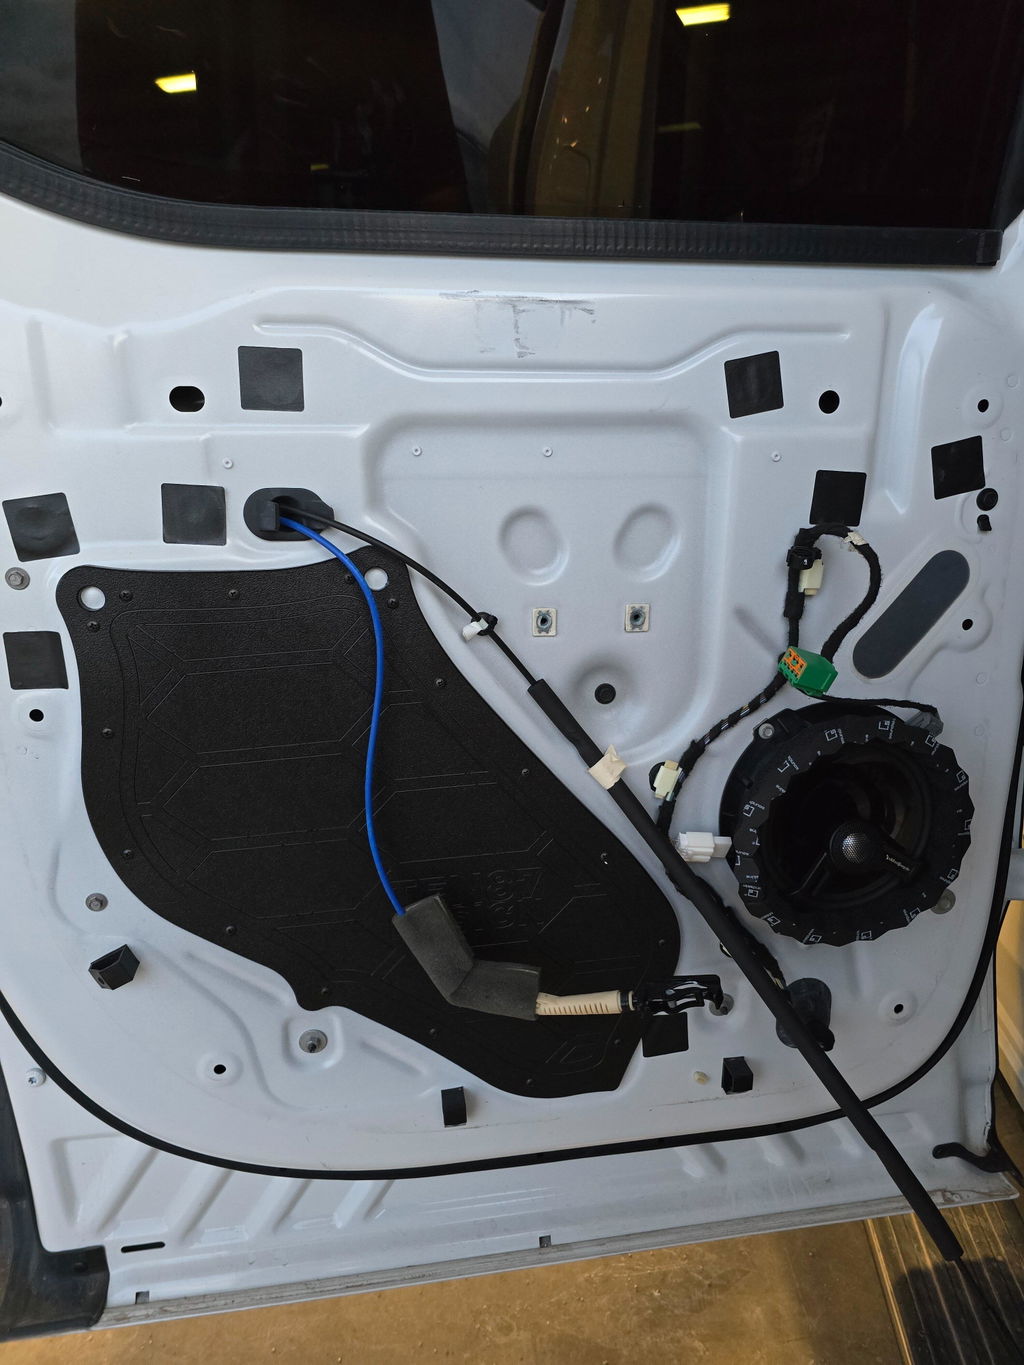
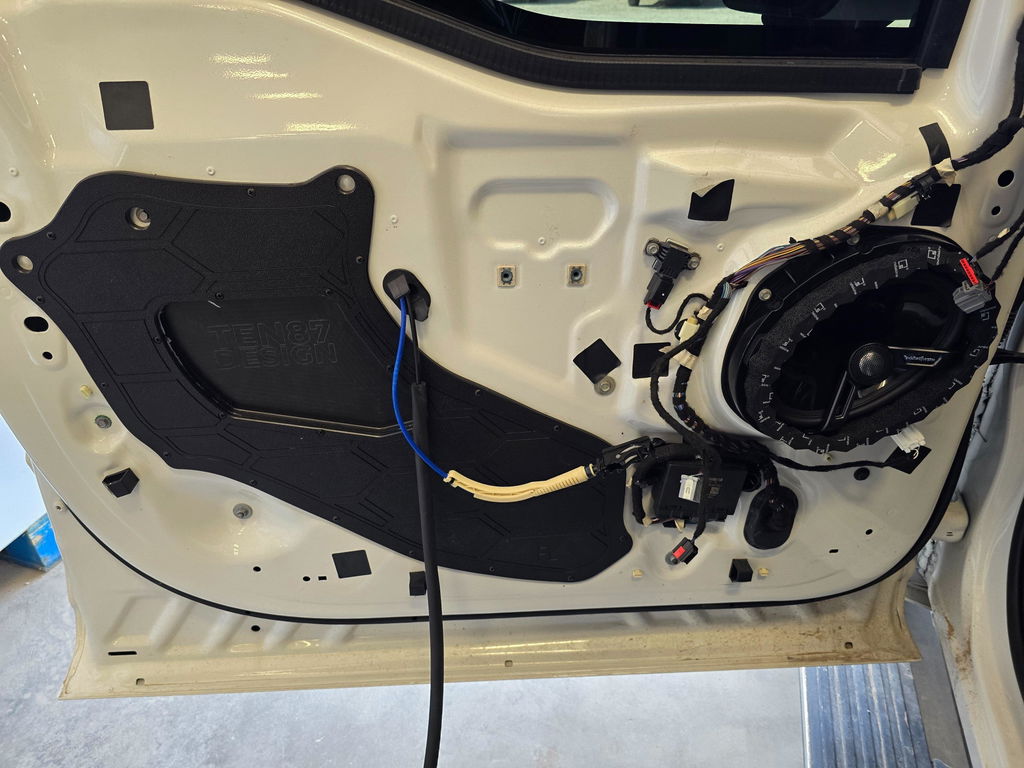
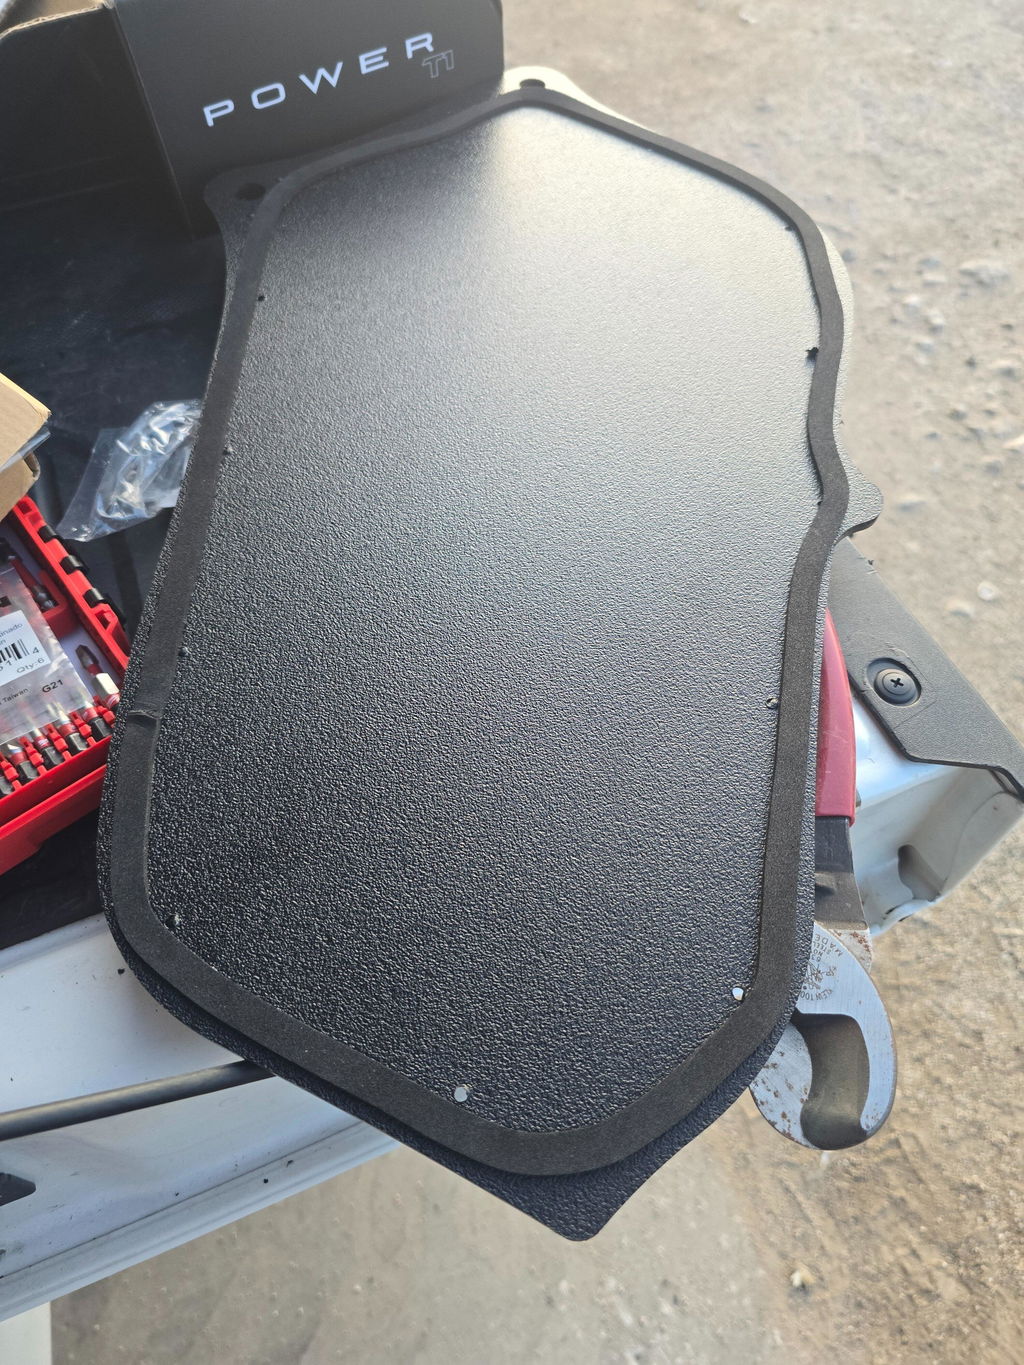
It does what it’s supposed to do! My only complaint, front door panels were a little tight to snap back on. Super clean install.
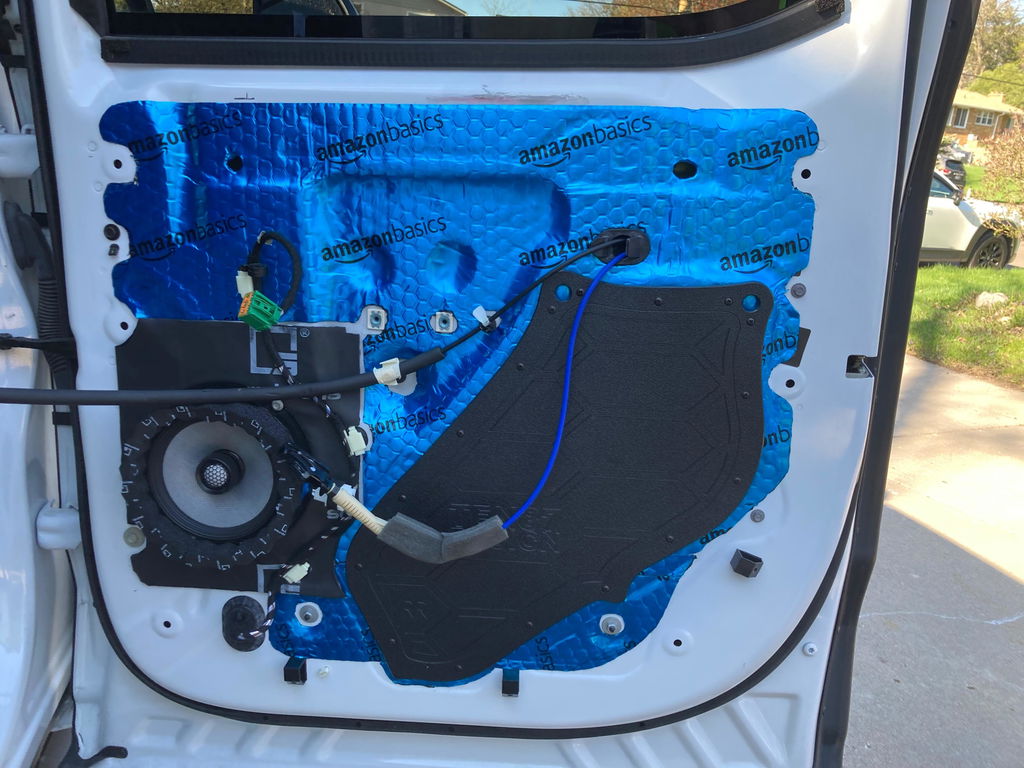
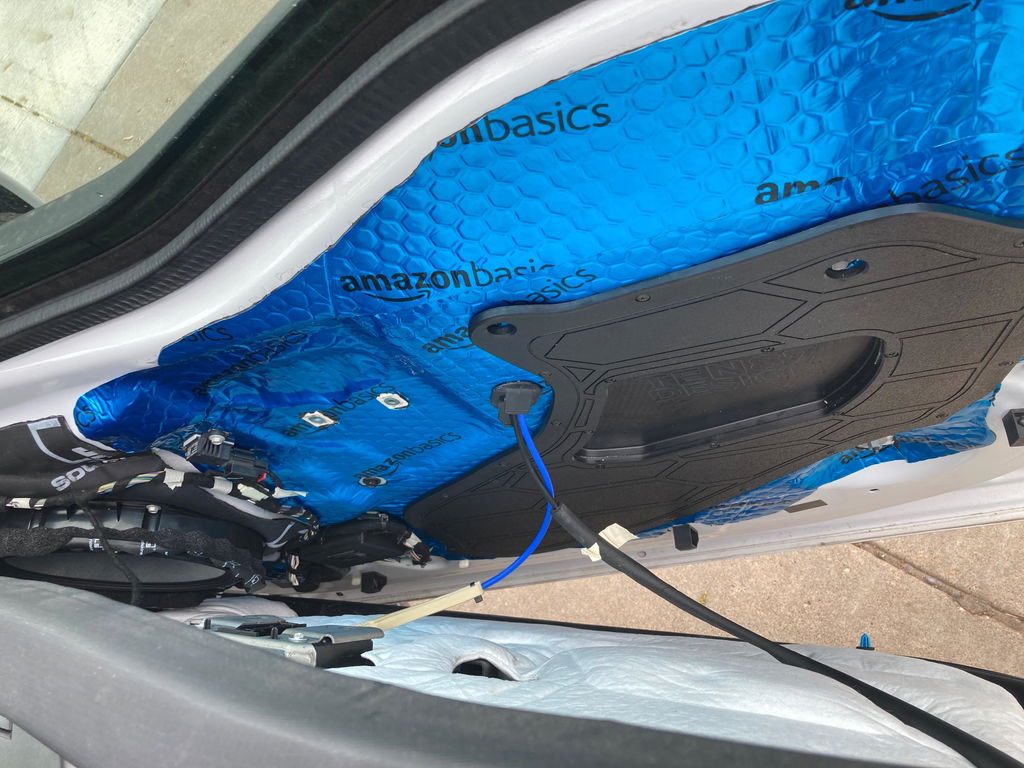
Not sure what'll fit? Just call.
Tell us your vehicle and what you're chasing - road noise, rattles, or both - and we'll confirm the right kit before you order.


